As I was starting my living room makeover I found some milk glass lamps at Pottery Barn that I really wanted, but again, did not want to pay the price tag. I got it in my head that I needed to make some of my own. I really wasn't sure how to do it and so I started with some trial and error experiments.
I thought I had a pretty good method and put it to the test on my vases I bought from Ikea. As my project was coming to an end, I had doubts that is was going to work out how I had planned. As beautifully as my "prototype" went my "actual" vases did the opposite. They turned out terrible, wah!
After the milk glass lamp episode I had to take another route, so I decided to revisit the milk glass experiment at another time.
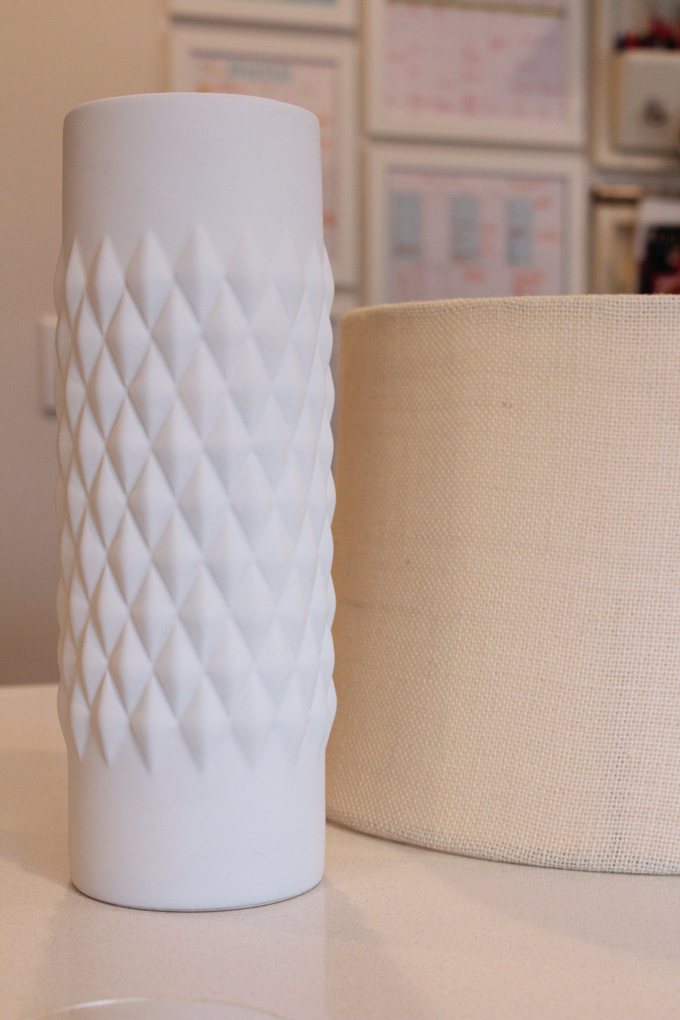
I was on a mad dash to find some vases that I liked to turn into my lamps for the living room. Enter...Target! Just sitting there on the end clearance rack were two high gloss black vases. They were so cute just sitting there all alone. I thought, "how has nobody given you a home yet?" (isn't it funny how the thoughts of a diy'er towards some vases are similar to that of a child looking at a lonely kitten, lol) Although they were not the right color (really never an issue) they came home with me.
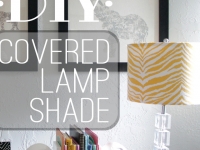
After a few quick coats of flat white spray paint they were ready to be lampisized (a new word for Webster's maybe?).
I gathered everything I needed and went to work.
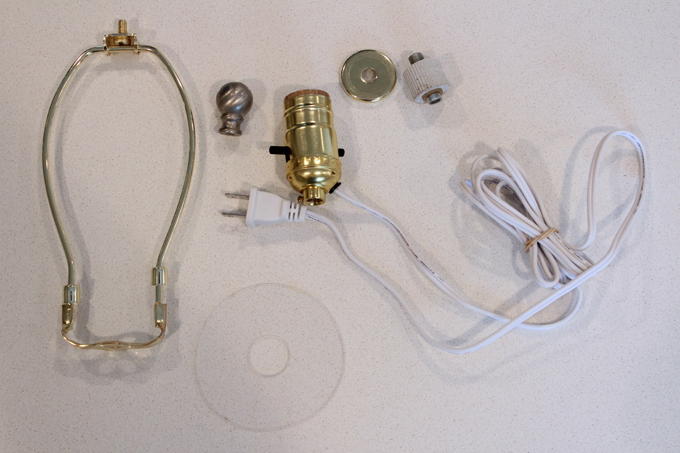
To make a lamp you'll need the following things:
- A lamp kit from the hardware store
- A harp the right height according to your shade (mine was 8")
- Plexiglass (the size depends on the lamps)
- A Finial to hold your shade to the harp
- Lamp shade
- Vase
- Glue of your choice (I would use a hot glue gun if you have it)
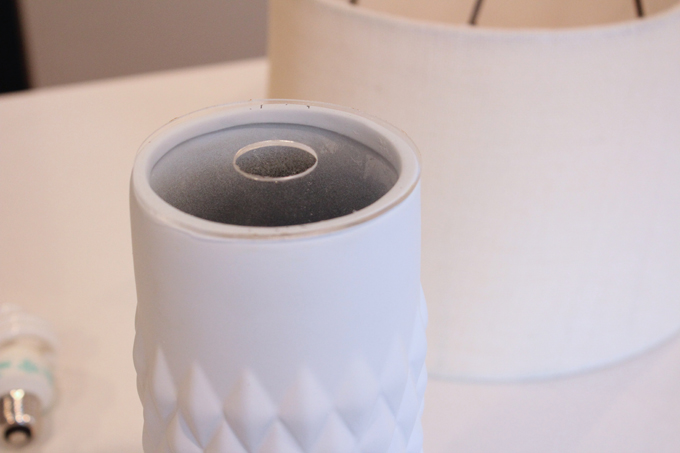
The first thing to do is trace the opening of your vase onto the plexiglass. I traced with wet erase marker so that is could easily be removed. Once you have the plexiglass traced on you need to cut it out. The easiest way I found to cut the plexiglass is with a band saw. However, I'm sure there are many other ways you could do it.
After you have the first cut done you will need to cut a circular hole in the middle of it. I used a hole saw that matched the largest "plug" that came with the lamp kit. You need to be very careful when cutting the middle hole. If you don't have a flat surface under your plexiglass and/or you push too hard you could will break it. I cut mine on a railroad tie that had a small hole where the bit of the hole saw would fit. Keep in mind that whatever you are cutting on is most likely going to get cut with the hole saw when you break through.
With the plexiglass ready it's time to assemble the lamp.
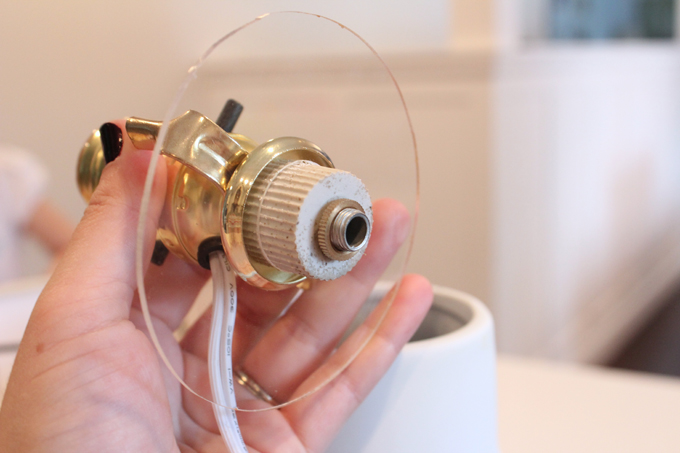
Eventually the plexiglass will be attached to the lamp but wait until the end to do that. Just make sure that it fits correctly on the vase.
You'll want to follow the directions on the specific lamp kit you buy. If you use the same one as I did then the pictures should help.
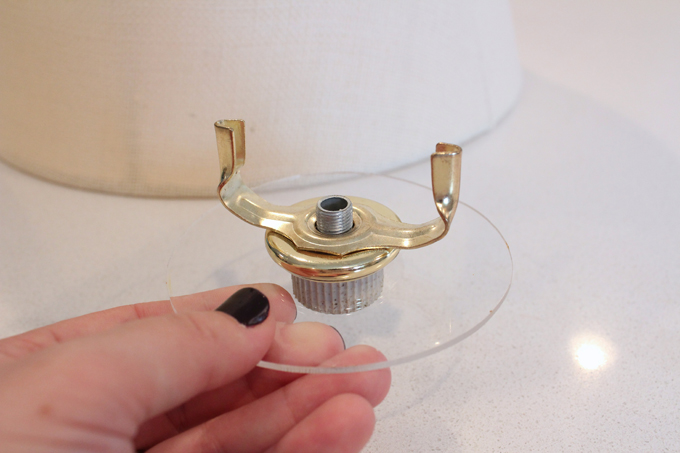
The threaded tube goes into the plug and the small gold ring screws onto the bottom. The plug then goes into the hole in the middle of the plexiglass. If you feel like the plug doesn't fit tight put some hot glue or caulk around the top and bottom to hold it in place better (one of mine was nice and snug the other a little loose, weird).
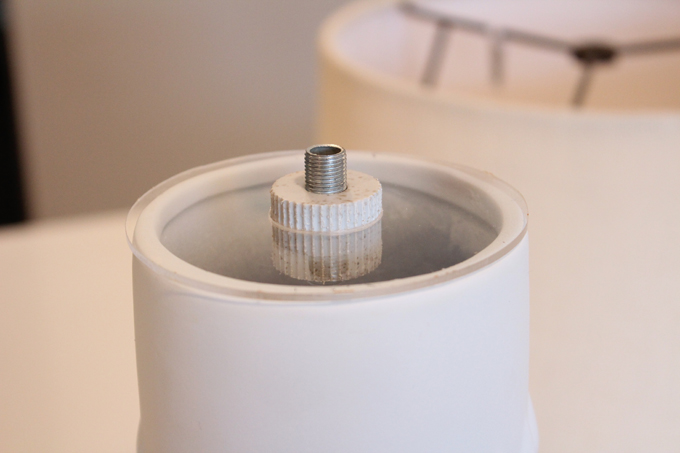
The cap goes on to hide the plug and then the bottom of the harp.
Assemble the light bulb base according to the directions and screw onto the threaded tube. There are two options at this step. If you want the cord to be on the inside of the vase then you will need to drill a hole at the base where the cord can come out. There is a great video tutorial here. The cord will need to come out of the base of the lamp kit instead of the side. I went the easy round and let it just hang down the back.
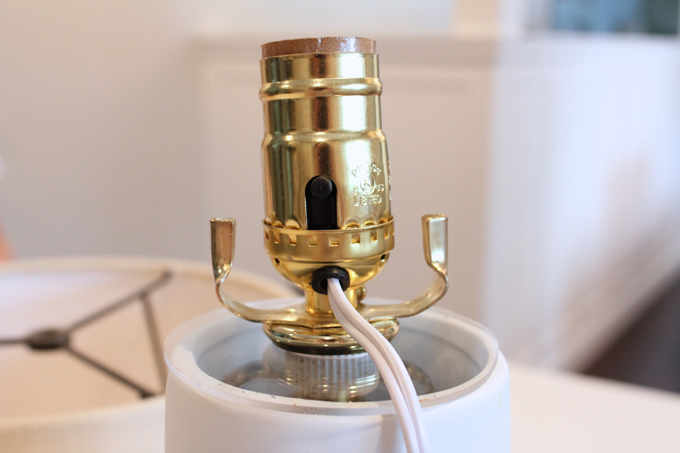
The cord will need to come through the threaded tube if you want to hide it in the vase.
Now that the kit is all assembled you can attach the plexiglass to the top of the lamp with glue.
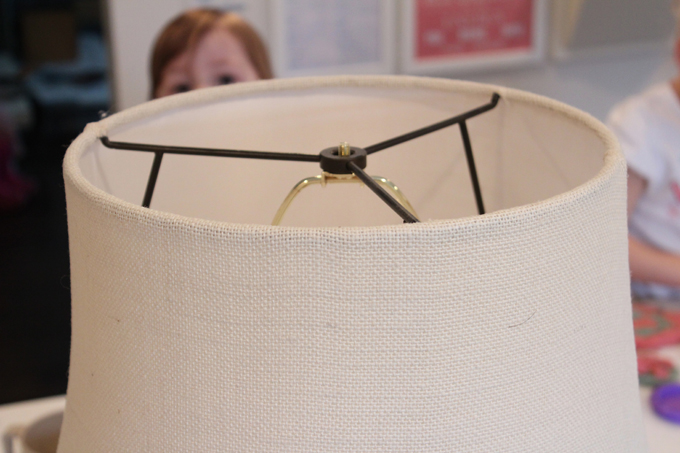
Add the harp, the shade, and the finial to hold it all in place. (My daughter inquired if I wanted to take pictures of her play dough too.)
*Side note: When buying your harp make sure the threads are long enough to protrude past your shade top and give enough space for the finial to attach to.
Throw in a light bulb and you're all finished!


Making a lamp may seem a little intimidating, but as you can see it's actually very easy. So next time you are looking for a lamp and find yourself at your wits end, think about making your own instead. You'll get twice as many options that way!
Linked With:
Blog Hop hosted by: Friday Flash Blog
Tags
- Facebook Like
- Google Plus One

- Log in to post comments


Comments
It looks fantastic, but the drilling into the plexiglass sounds a bit nerve-wrecking.
Haha...it's definitely something that takes a gentle hand. I broke my first one but luckily the small plexi pieces are cheap.
Mhmm... LOVE milk glass and your lamp is GORGEOUS!!!
Would love for you to stop by @toddlindsey.com
Cute blog! You have a great DIY page...I'm so jealous!
I love these!!! Heather @ Larissa Hill Designs
Thanks! I love them too!
You make it look so easy. This is a great tutorial!! Thanks :)
I just bought a great vase, I've really wanted to make a lamp with shells and sand inside for our kid's room which is beach themed. So glad I found this! I'm going to try to do what you did but I've never done anything with electricity (or power tools really XD) and I'm a bit nervous!
I wish I'd seen this before I had ordered a lamp kit because yours looks so much better than the one I bought! Mine didn't come with anything that looks like the plug you used. I'm not sure where to get the plexi glass but I'm going to consult with google.
Thank you for providing so many great photos!