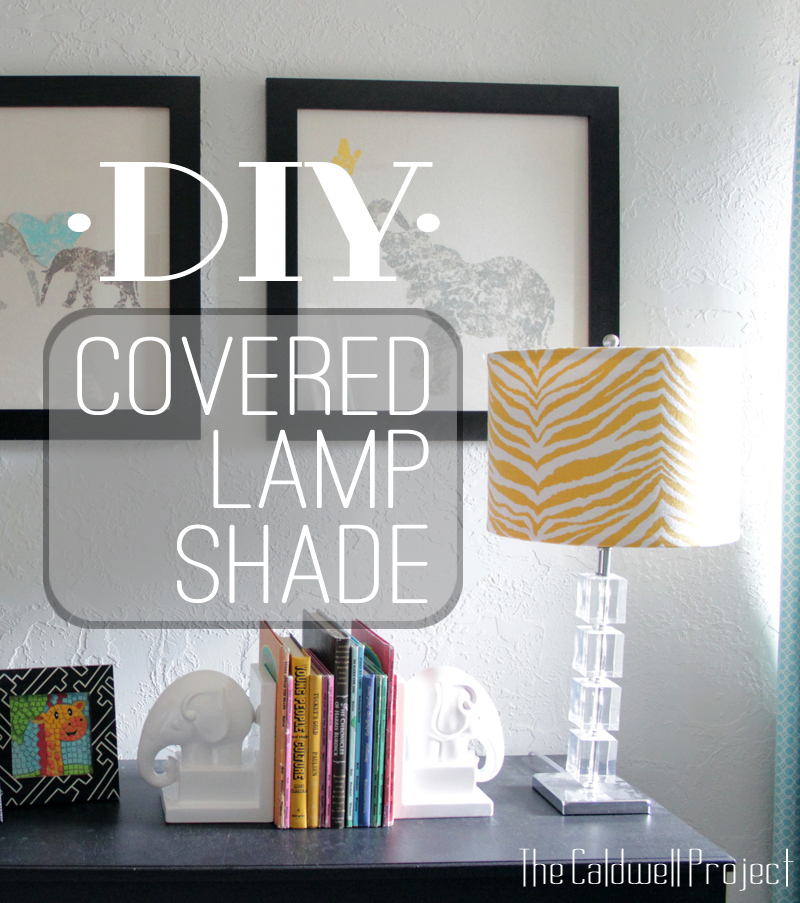
Creating a custom lamp shade can bring a special and sophisticated touch to any room. By covering your own shade you get unlimited fabric choices and are sure to get the exact look you are going for.
I find that a perfectly round drum shade works best for this process, but a slightly tapered shade would work as well. However, it is more difficult rolling your fabric onto a shade if it is tapered.
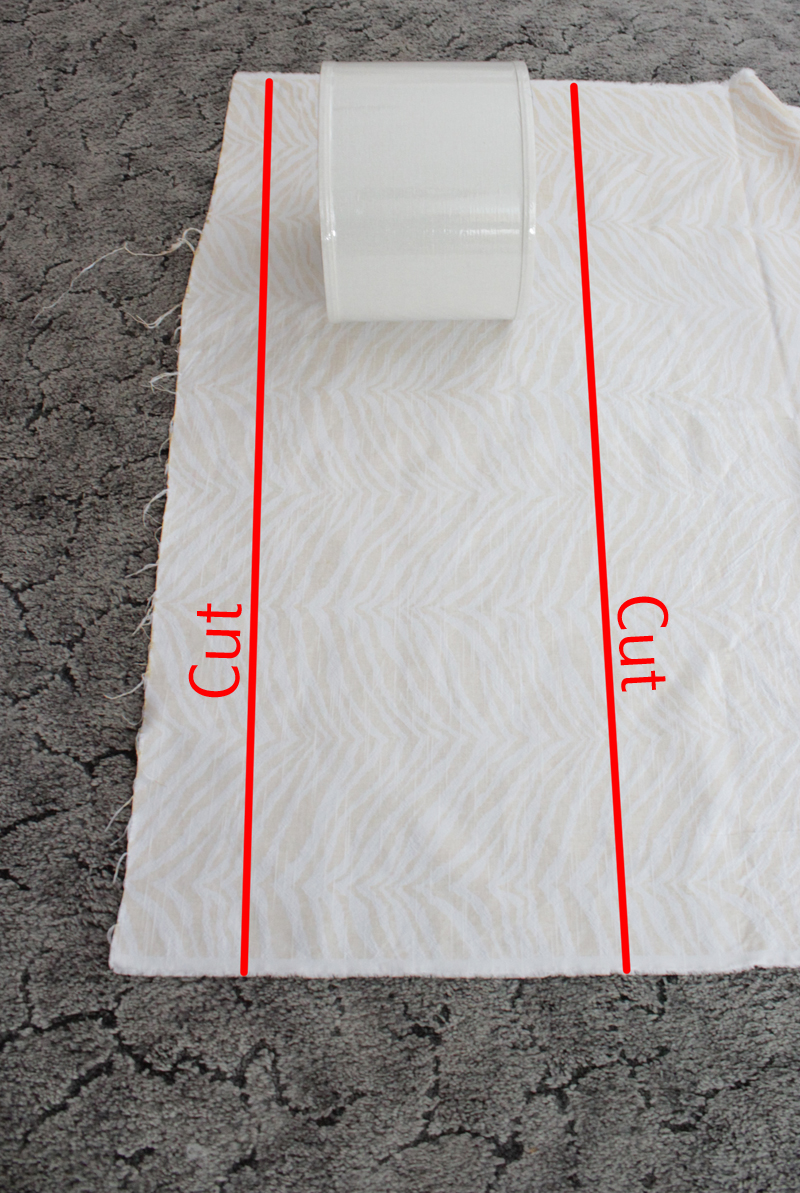
Step 1: Layout and Fabric Placement
Lay your fabric out and decide which direction and where on the shade you want your pattern to end up. Cut the fabric on either side of your shade leaving about six inches excess.
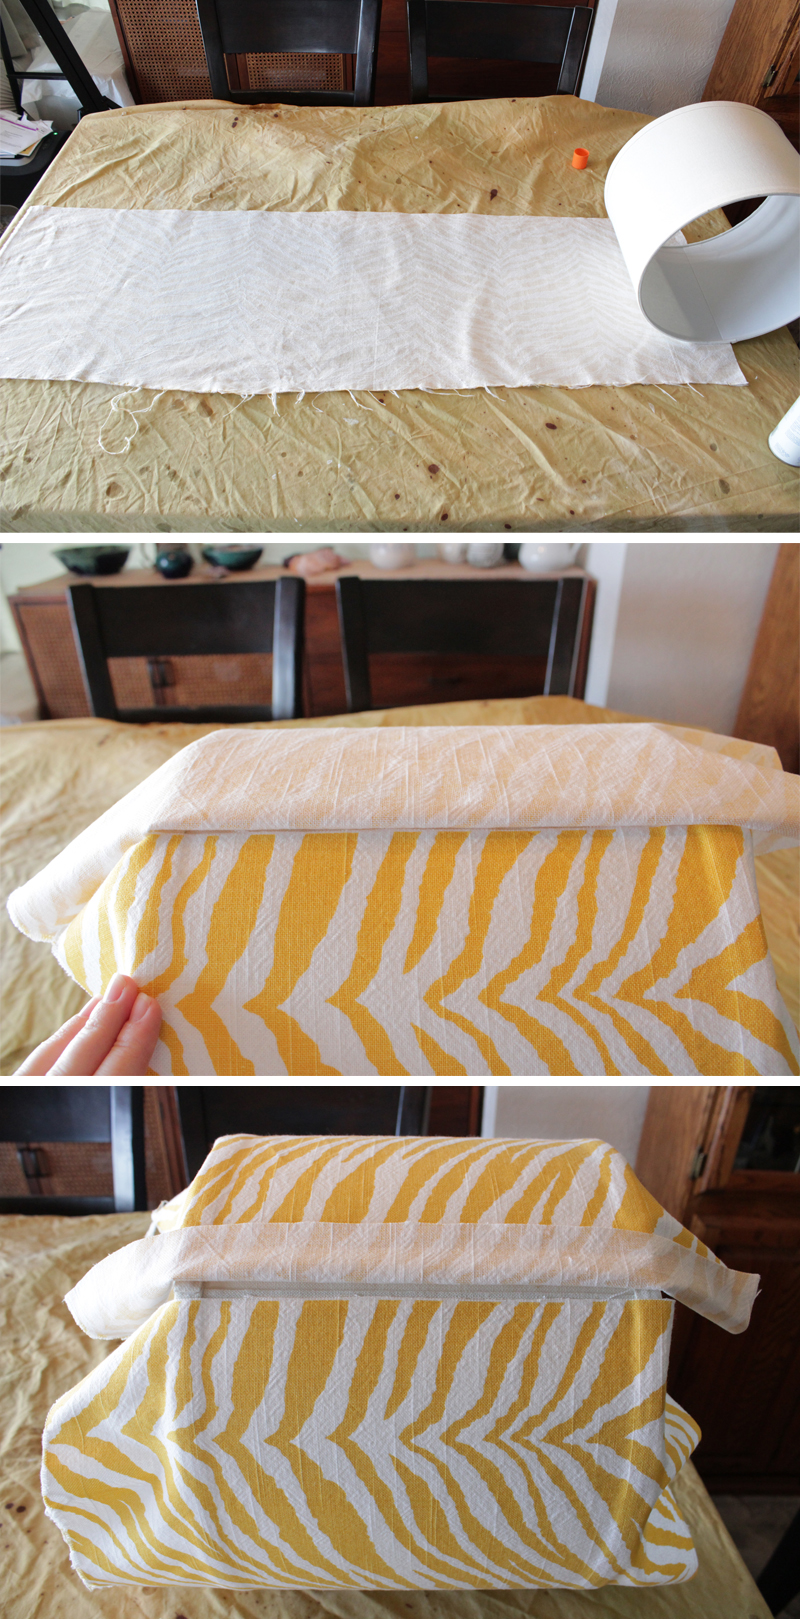
Step 2: Attaching Fabric
Line up the end of your fabric on the seam of the shade.

Carefully roll the shade forward and spray adhesive on the first few inches of the fabric (indicated in red).

Roll the shade back and press the adhesive sprayed fabric onto the shade. Give it a good rub to make sure it sticks well.

- Roll the shade out to the attached edge. Spraying the fabric with your adhesive a little bit at a time, begin rolling the shade onto the fabric keeping it tight to eliminate any wrinkles.
- When you get all the way around the shade there will be some excess.
- Cut the excess to double the width of the original seam. My excess was cut to about 1 1/2".
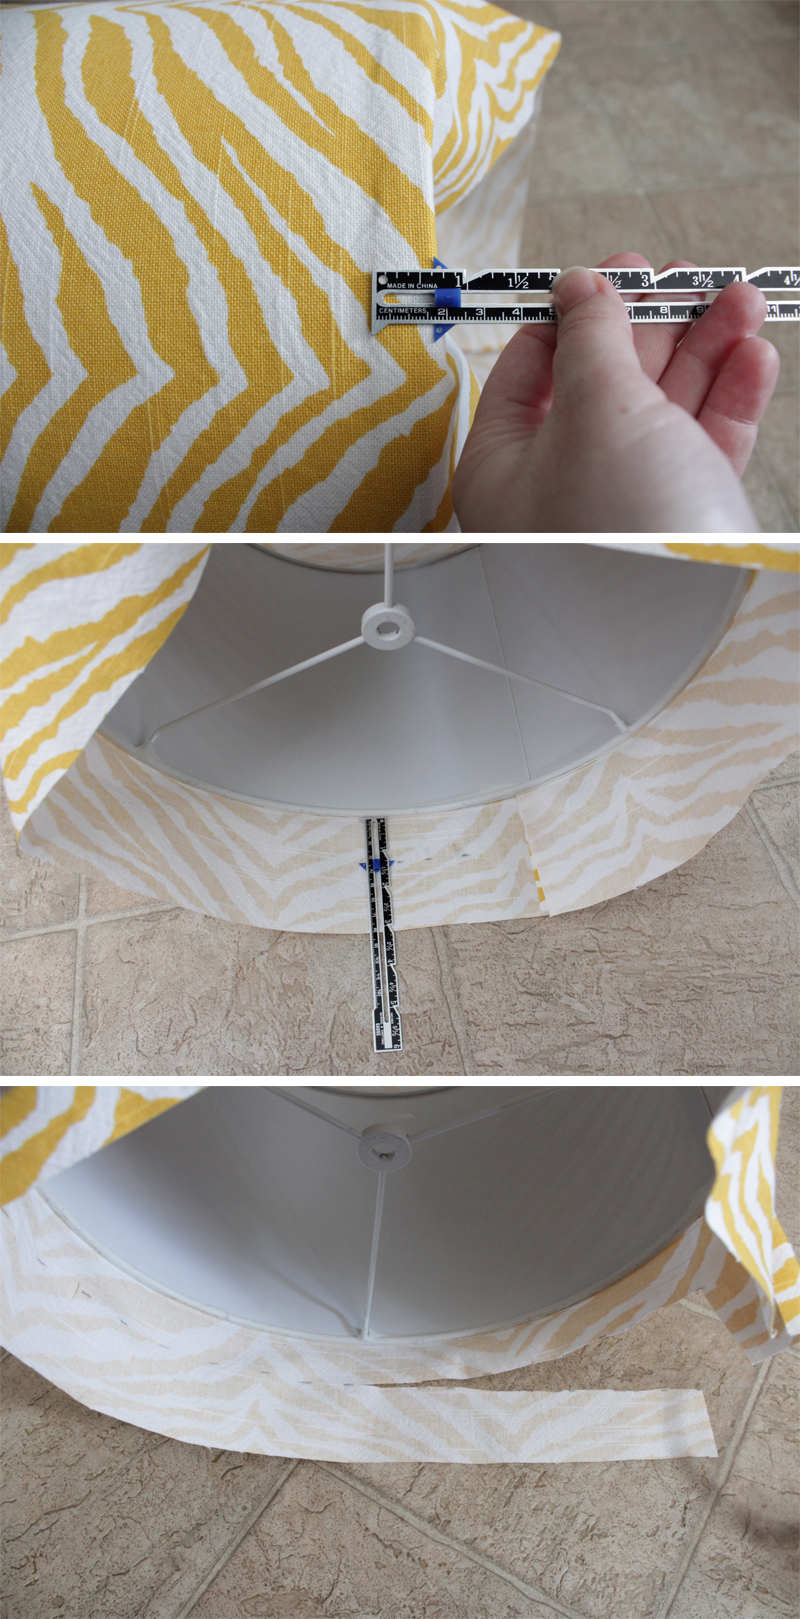
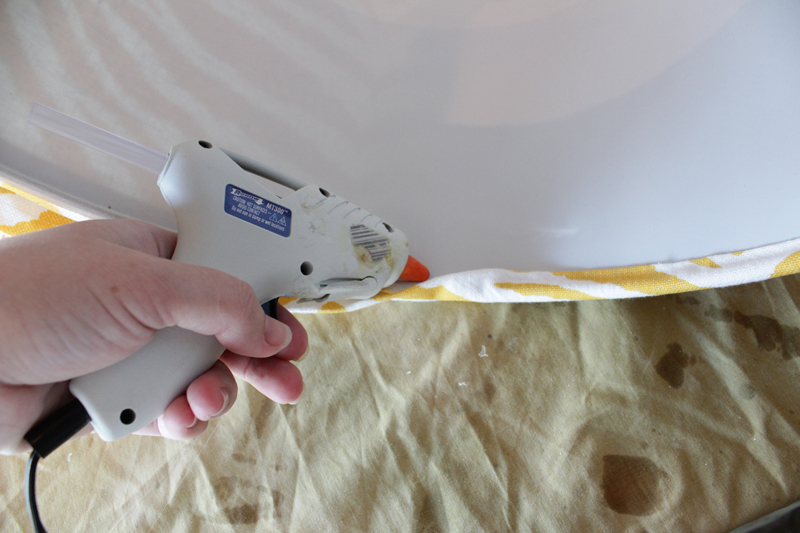
Step 3: Creating the Seam
- Using a hot glue gun, place glue along the folded edge of your excess fabric.
- Fold itself over onto the glue.
- Glue the remaining flap down. This should end up over the orignal seam. That way you can only see a single seam when the light is turned on.

Step 4: Cutting the Edges
- Measure the original edge seam of your shade.
- Double that amount and mark it around the inside of the fabric on both edges.
- Cut on the marks.
Step 5: Folding and Glueing Edges
Fold the edge fabric in half on itself. There will still be a little glue from the original spraying of adhesive and will be tacky. Fold all the way around on both sides.
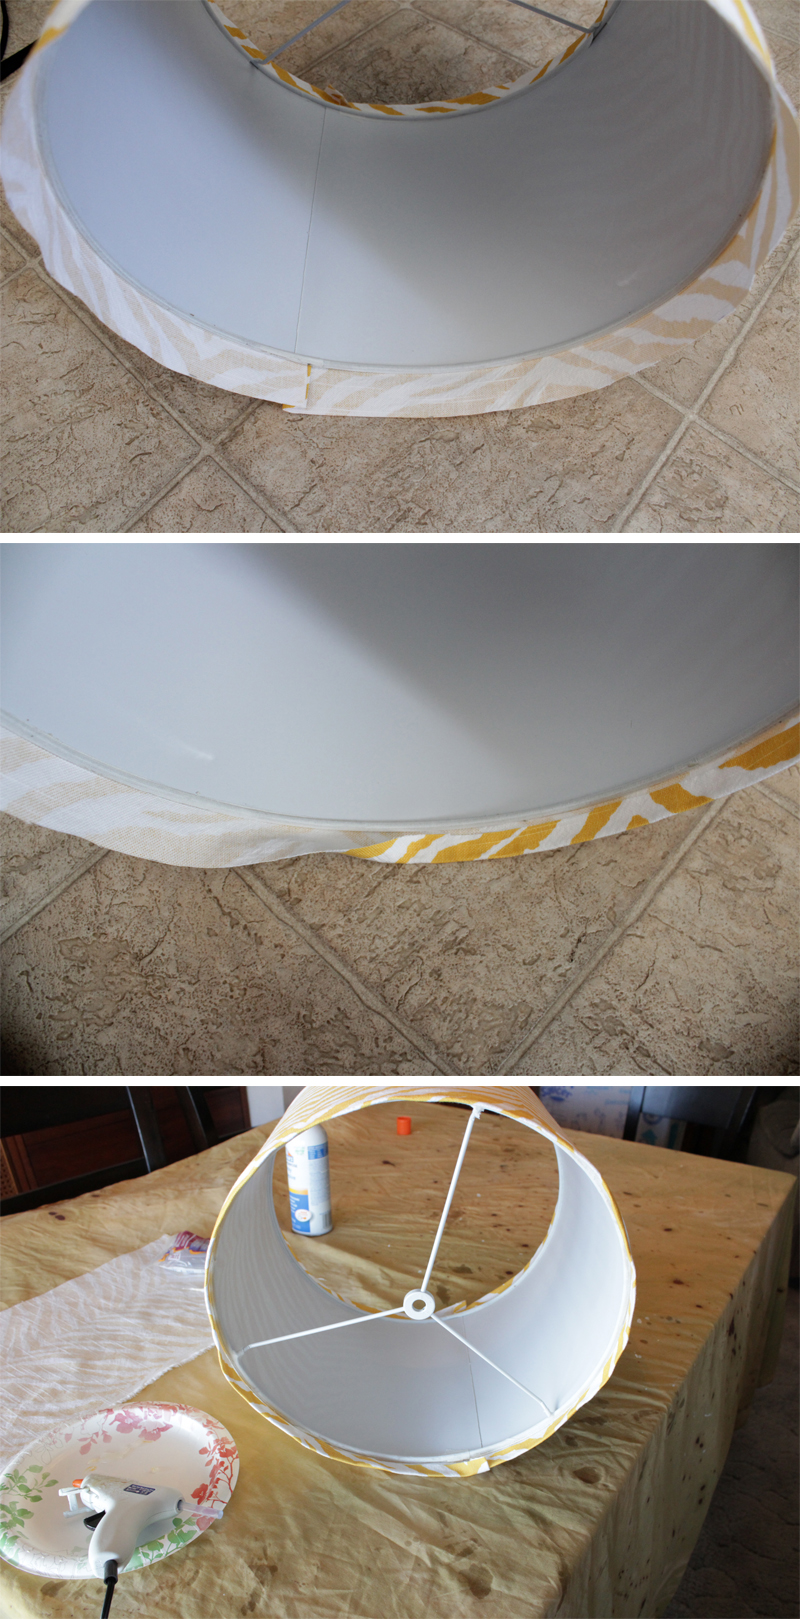
Roll the folded edges over the lip of the shade and use hot glue to attach them.
And you're done! Just add your shade to your favorite base and you've got a high end, beautiful custom lamp.
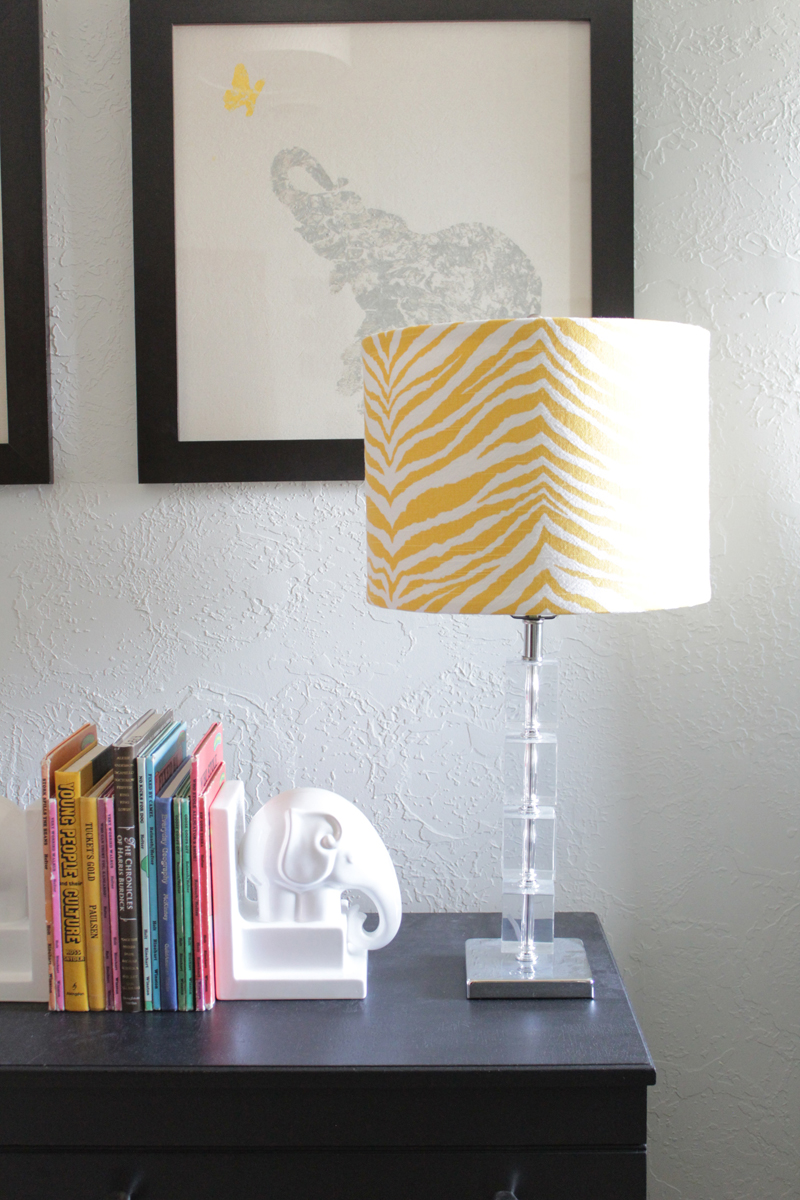
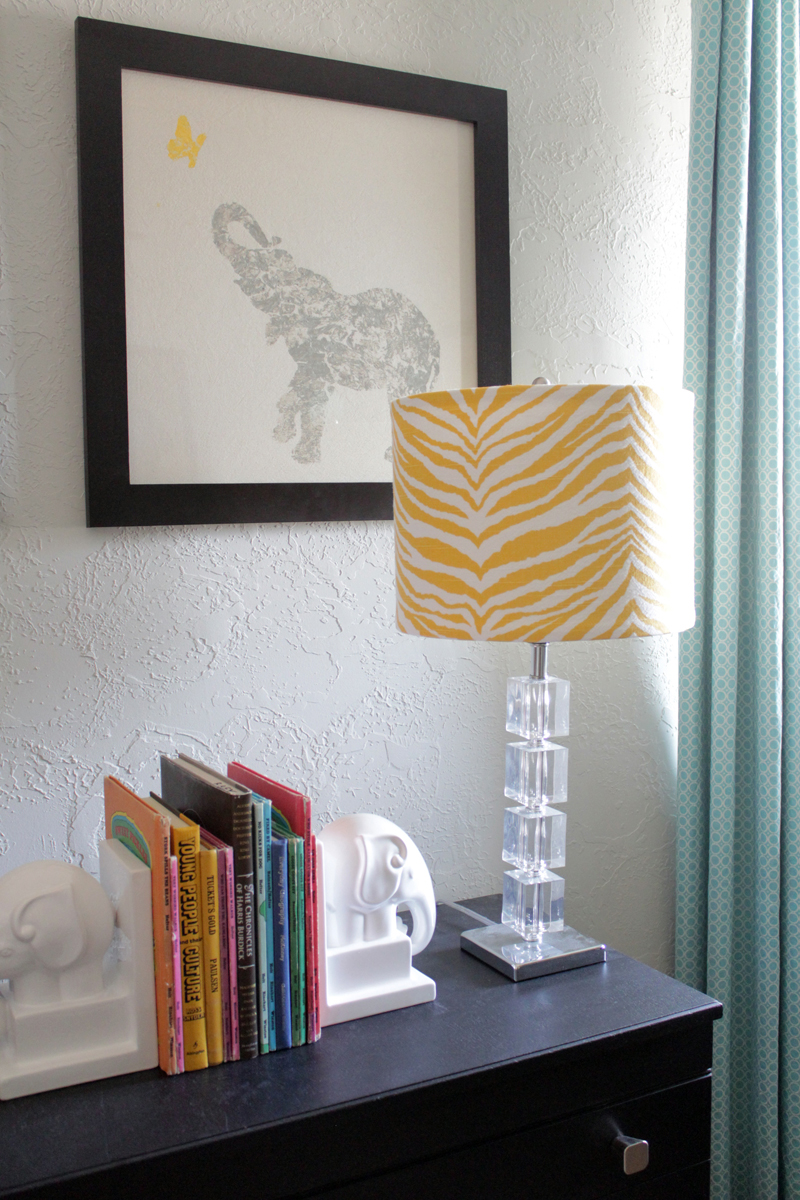
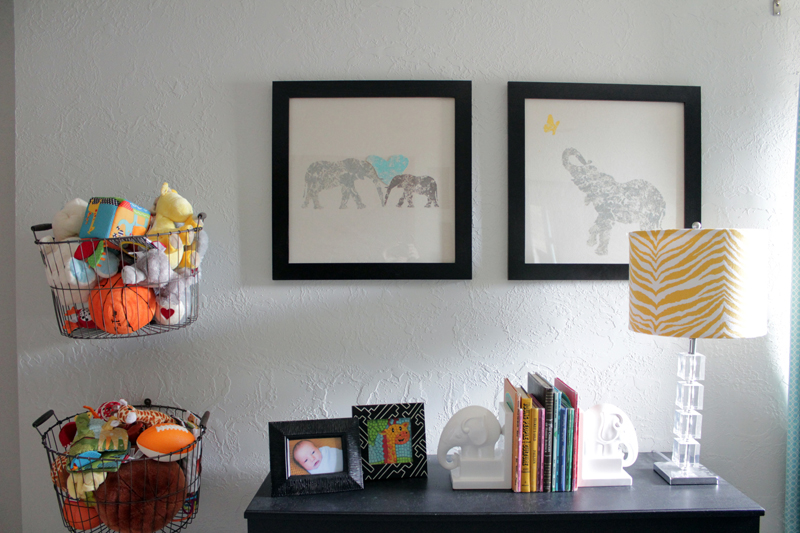
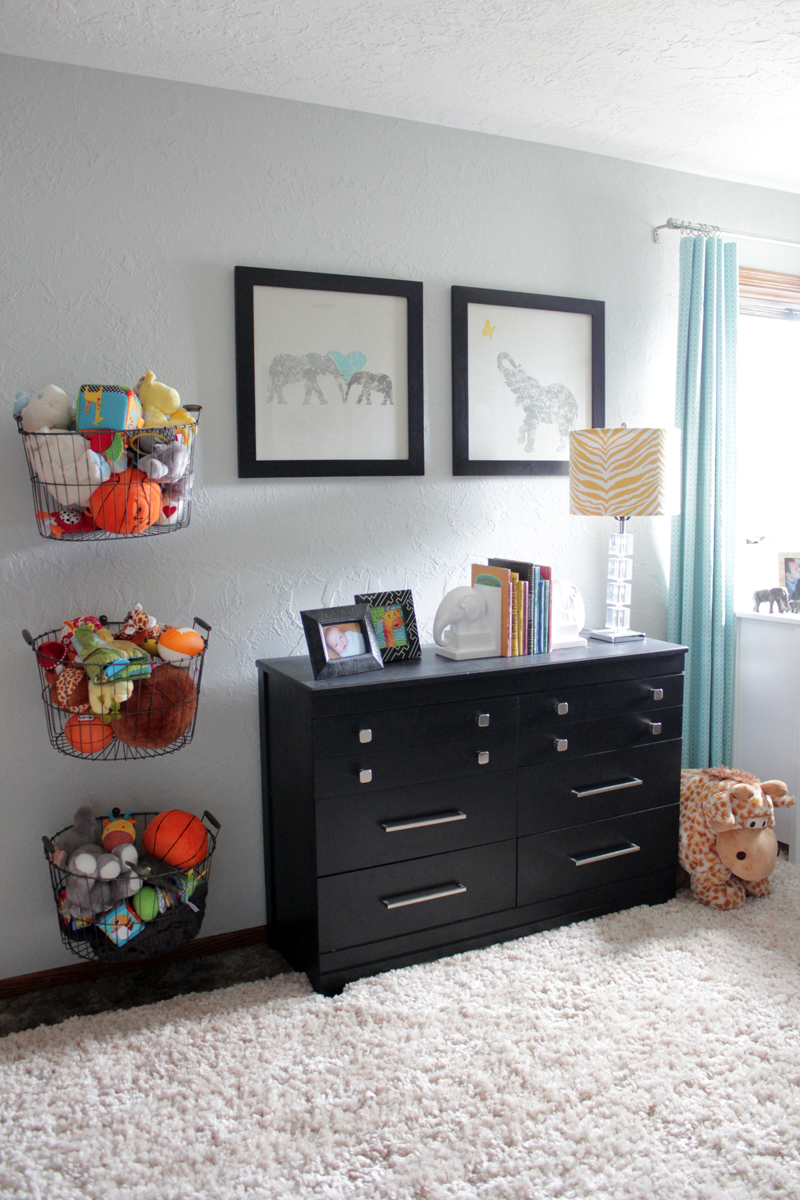
To see more about the nursery this lamp is featured in, check out:
Finish Nursery: Check! (the finished nursery)
Neutral to Not So Neutral Nursery (original mood boards)
Blackout Curtains: An Easy How To (I Promise)
Linked with:
Tags
- Facebook Like
- Google Plus One

- Log in to post comments


Comments
Love the color combination of the room. The lamp shade fabric goes perfectly with the theme (elephants). Super cute.
Hey link this up to our be. YOU. tiful link party on Thursday. Its too cute to not share with everyone!!!! Pinning :)
Sorry duh, www.chiccalifornia.com PS. Why was I not following you on instagram? Well, I am now :)
I love this, great post! I would love it if you joined and contribute your awesome posts at my link party at City of Creative Dreams on Fridays :D Hope to see you there at City of Creative Dreams Link Party
What a simple way to make a huge impact! Thanks so much for linking up to the Be.You.Tiful Link Party! I look forward to seeing more of your projects!
I saw you over from the Be.You.tiful blog hop. Love the lamp! BUt I also pinned for the baskets and the prints, and the colors....nice job! Great room! :)