A while ago I saw a bird rack from West Elm that I fell in love with, sadly I was not in love with the price (even if I wanted to buy it now, I coudn't, since it is no longer available). Then the ol' diy mentallity kicked in and I decided to make my own version of the rack.
This project was part of my 31 Day Challenge put on by the Nester during the month of October. Since I was doing my entire living room in just a month everything really needed to be as budget friendly as possible. In the end, the project cost me less than $5, so it was a success in my book!
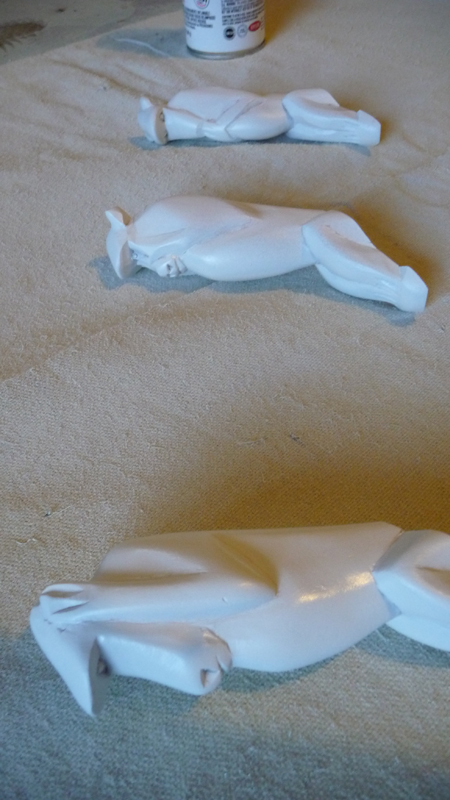
I started by trying to find something to create the "hooks" for my rack. One of the things that I loved so much about the West Elm rack is that it had birds and not just regular old hooks. After about a week of hitting the thrift and department stores and keeping and open mind for anything that could possibly become a "hook", I stumbled across these monkeys at my local christian charity store. Do I love monkeys? Not really, but they were just the ticket for the rack, and my daughter loves monkeys, so I was sold. This is what the monkeys mostly started out looking like (pardon the brain flub of cutting the monkeys without getting a before picture, but I think you get the gist).
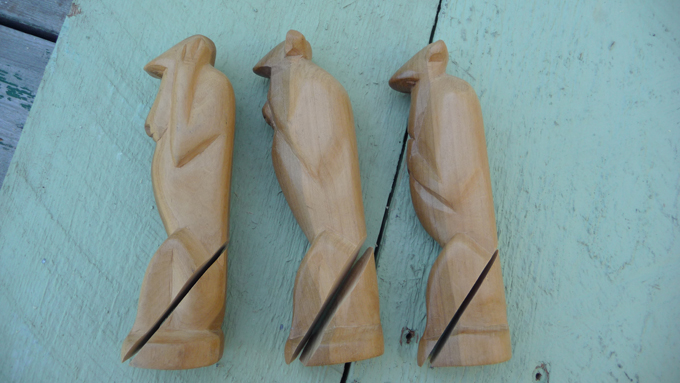
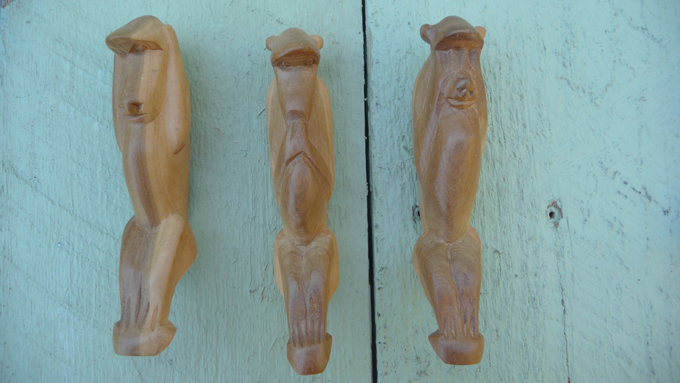
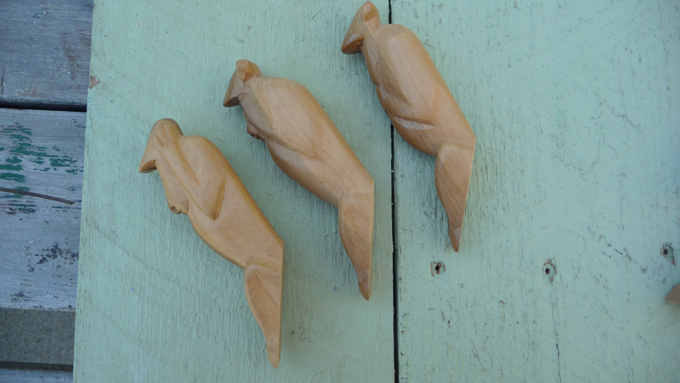
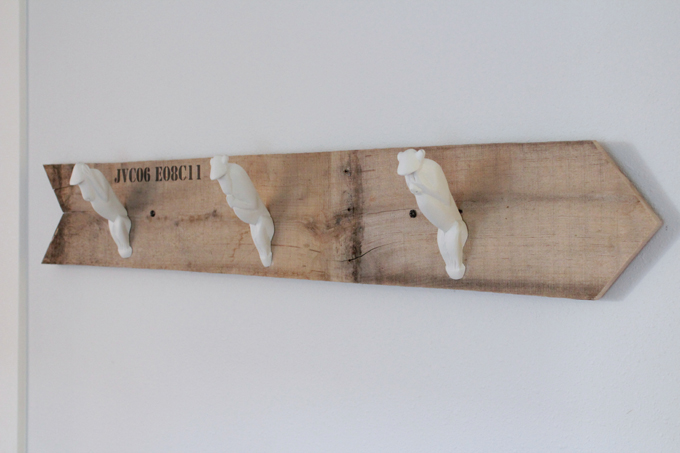
I wanted the monkeys to sit at a pretty good angle so I could hang large items on them. I cut them using a miter saw.
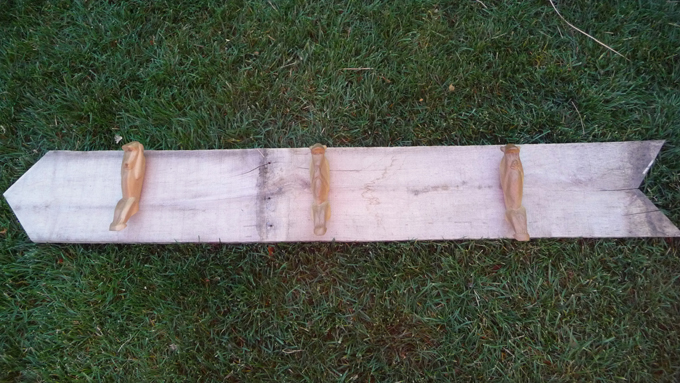
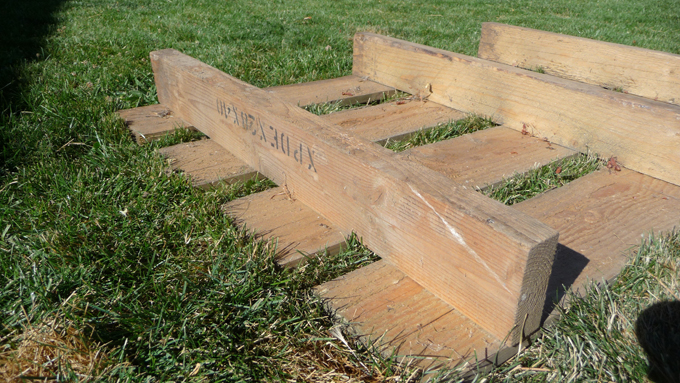
I had some old pallets sitting behind my shop and they were nice and weathered from sitting out through a winter. That's what I decided to use to attach my monkeys to. I didn't want to leave it a plain rectangle so I gave it a little more of a banner feel. I used a miter saw to cut the point of the board, but a band saw to cut the tail so I didn't have any overcut like you get with a miter or circular saw.
The monkeys then got a new coat of paint. They had a pretty good layer of laquer on them so I used liquid deglosser to prep them. I primed them and then coated them with semi gloss white spray paint.
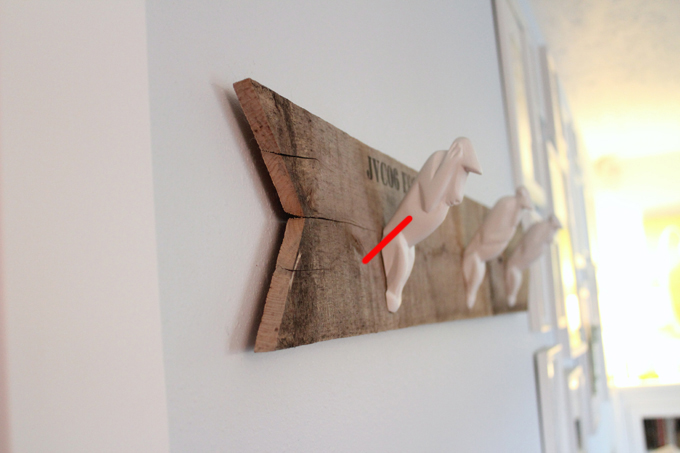
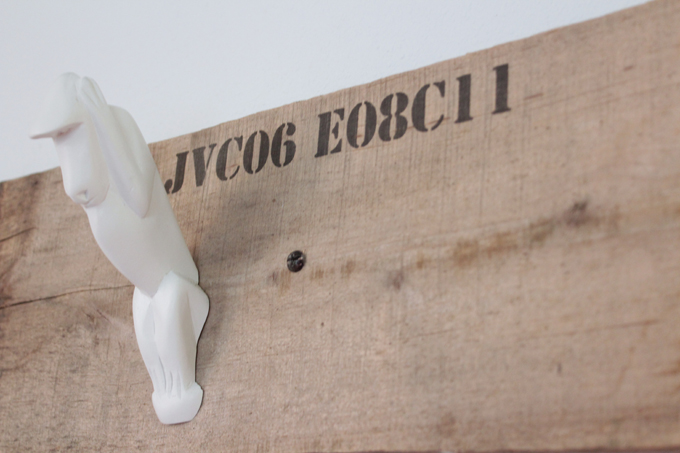
When we were ready to attach our monkeys, we pre-drilled through our pallet board at the angle that matched the monkeys. Of course I forgot to take a picture of that too, but the red line shows the angle that we put in our screws.
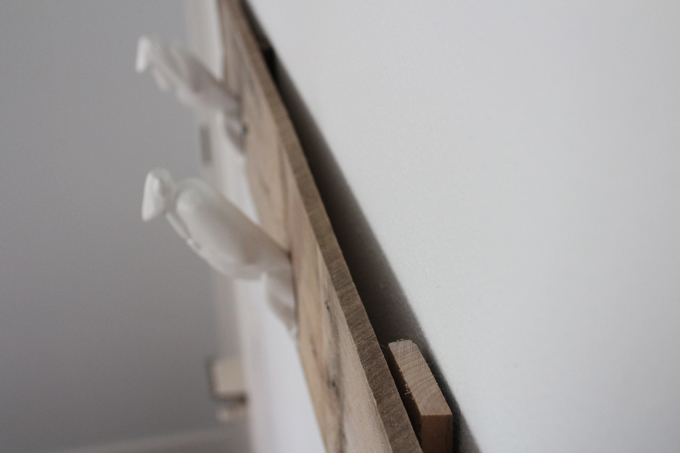
Since the screws are going in at such a severe angle they didn't lay flush with the back of the pallet board, so we put in some spacers. That made it so the screws sticking out wouldn't cut into the drywall and so it would lay flat on the spacers.
I wanted to add some personliazation to the rack. I was inspired by the pallet we took our board from.
I really liked the idea of stenciling on some letters and numbers to make it look like it came from a stock yard or something. We came up with a combination of letters and numbers that said something about our famly. The numbers are our marriage year and the years our children were born (plus room on the end for more) and the letters go with our names. There are so many different combinations that you could come up with so have fun with it!
The studs weren't in the right places for us to hang this so we used very heavy duty drywall anchors. I think they were 80 pound weight load and we used two (it holds my "heavy as an elephant" purse so I think we are safe, lol).
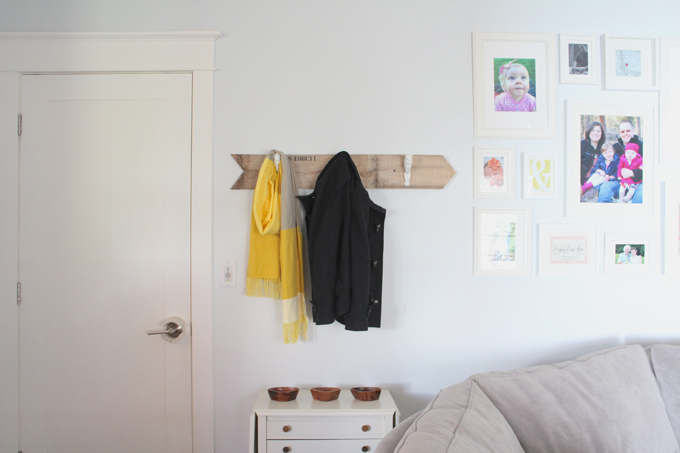
This was such an easy fun project, and if you're not afraid of power tools this is right up your alley! If you happen to have a pallet on hand it can be nearly free and it's also a good place to hang something for Christmas! Can't get much better than that! 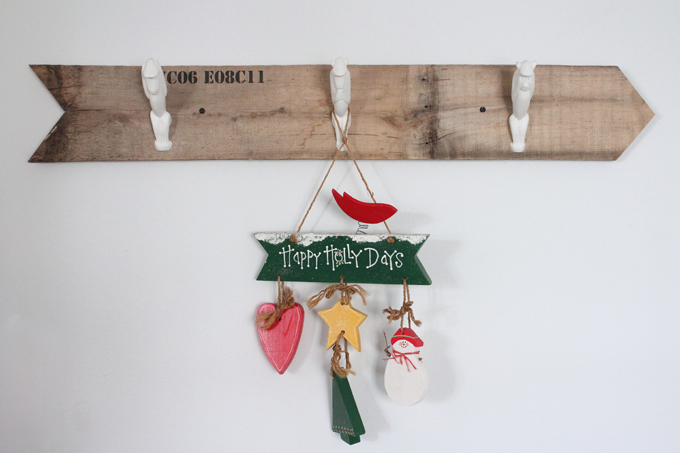
If you are going to make a rack of your own, keep an open mind as to what you are going to use for your "hooks". At one point I even thought about using old door knobs.
Linked with:


Tags
- Facebook Like
- Google Plus One

- Log in to post comments


Comments
Wow! What a wonderfully creative rack you have made! I love the monkeys! So clever.
I love this idea! You did such a great job & it looks amazing in that spot!! Thank you so much for linking up at the party.. hope to see you there every week sharing your creativity! ;)
What a fun coat rack! I like that the board is an arrow too.
Seriously?! How cool! I adore your coat rack! So clever how you made it and it turned out perfectly!!! I am in love! I am totally pinning this! Thank you for linking up at the "Thrift It" link party!
Jaime
What a fabulous knock off! I love what you did with this, really great idea. It looks so rustic and chic. Great job.