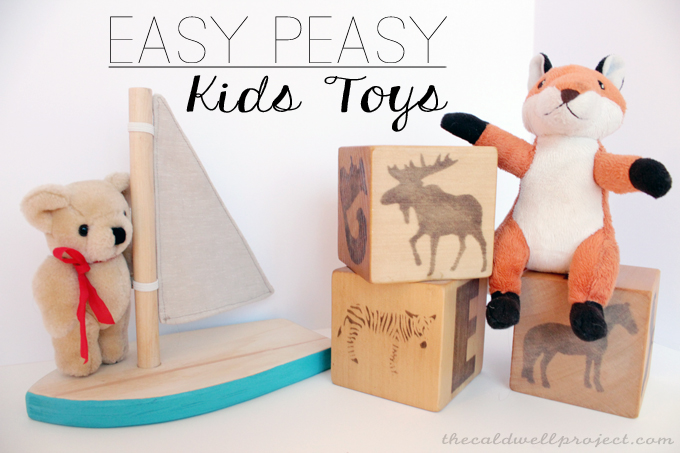
For my friend's nursery we are trying to be very budget conscious, especially now that we are reaching the end of the project.
So, to make the most with what we have, I whipped up a few toys that we can use as decor, and later on for some fun.
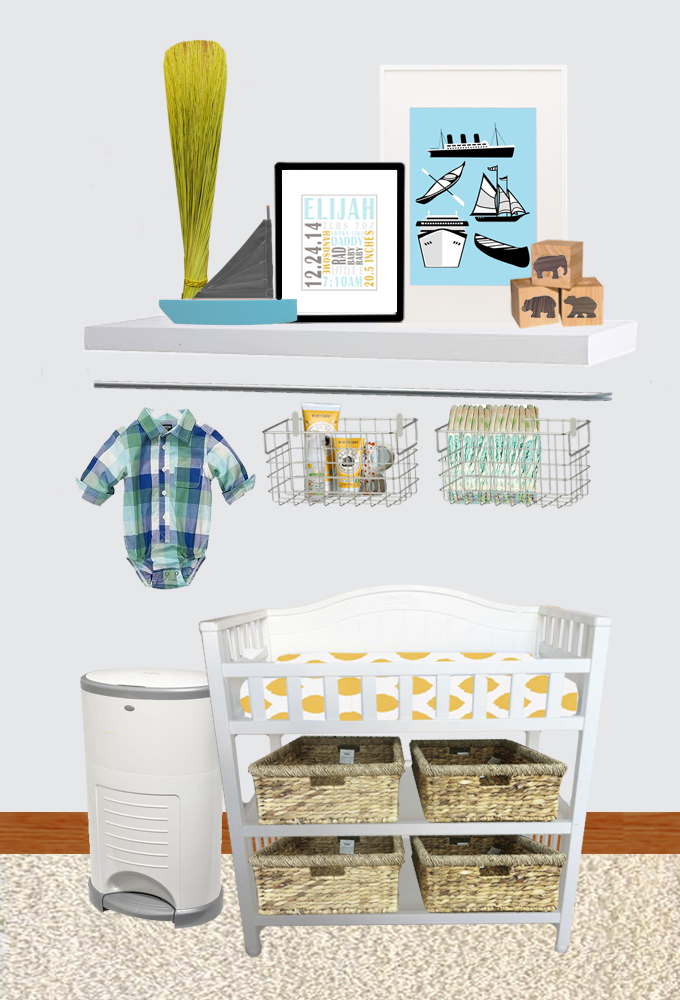
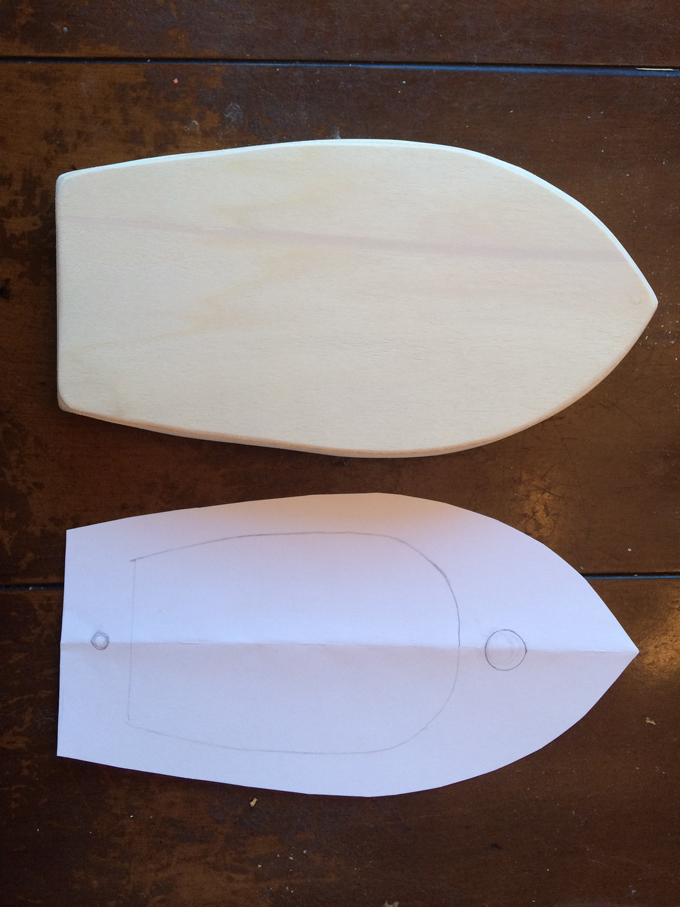
I put together an idea of what I was thinking for the changing table shelf that looked something like this.
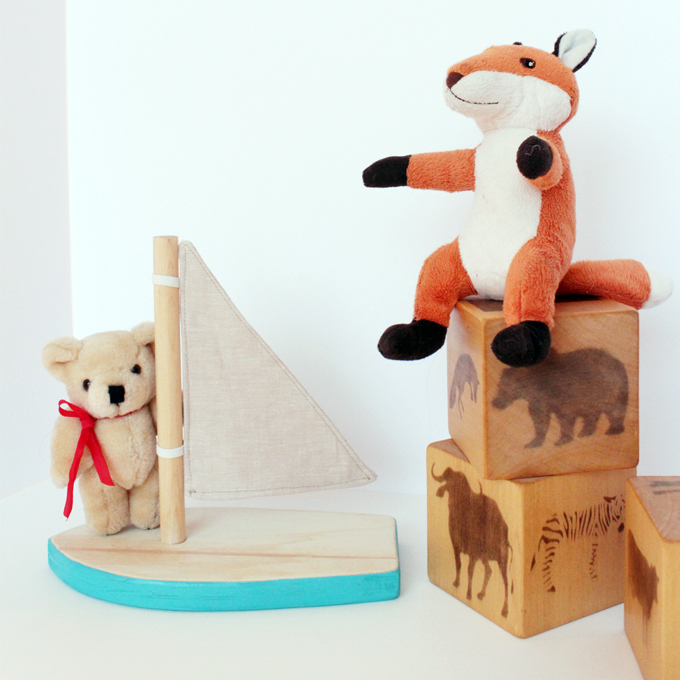
That specific boat is one I found on Etsy, but I wanted to be as frugal as possible. So, I took some extra wood from the corner shelf I made, drew a quick template, cut it out with my band saw, and sanded it smooth.
If I'd had more time/effort I was going to make it two layers with the top having a cutout just like the template. However, it just wasn't going to happen at this point, but it's something I'd like to try in the future.
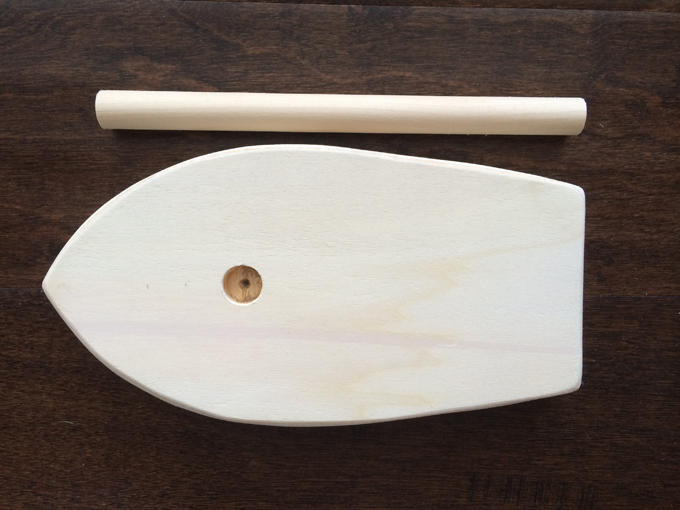
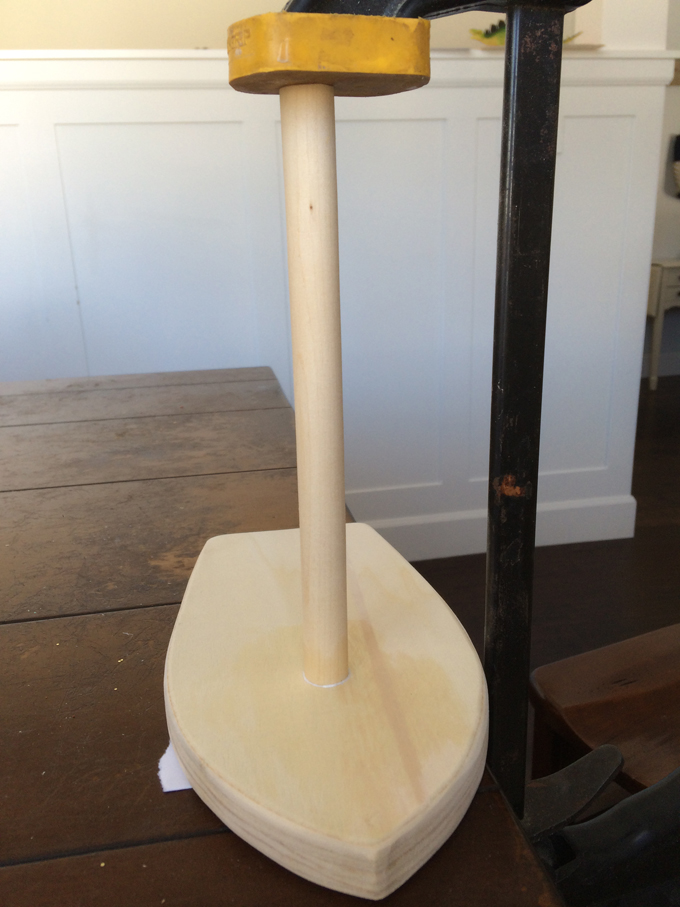
After cutting out the base I measured my dowel (which was thankfully only $.99 at Hobby Lobby, and the only thing I had to buy for this project) and cut my hole in the base where I would glue the dowel.
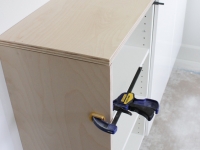
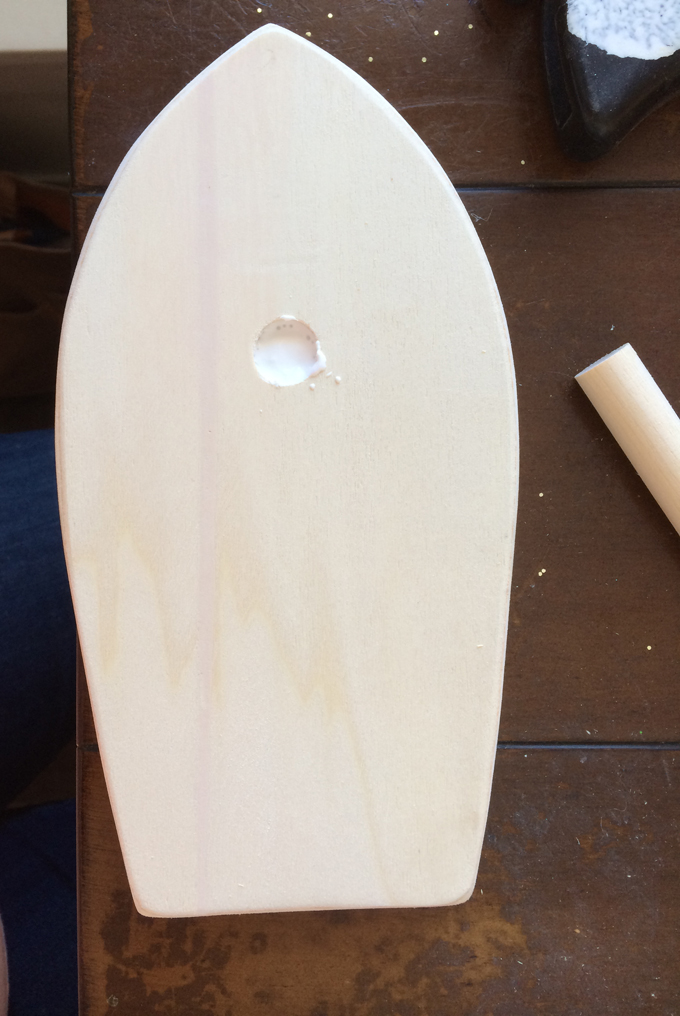
From there you add in a good amount of glue into your hole. Any sort of glue that works for wood should be fine.
Put in your dowel and clamp. Make sure that your dowel is lined up straight all the way around.
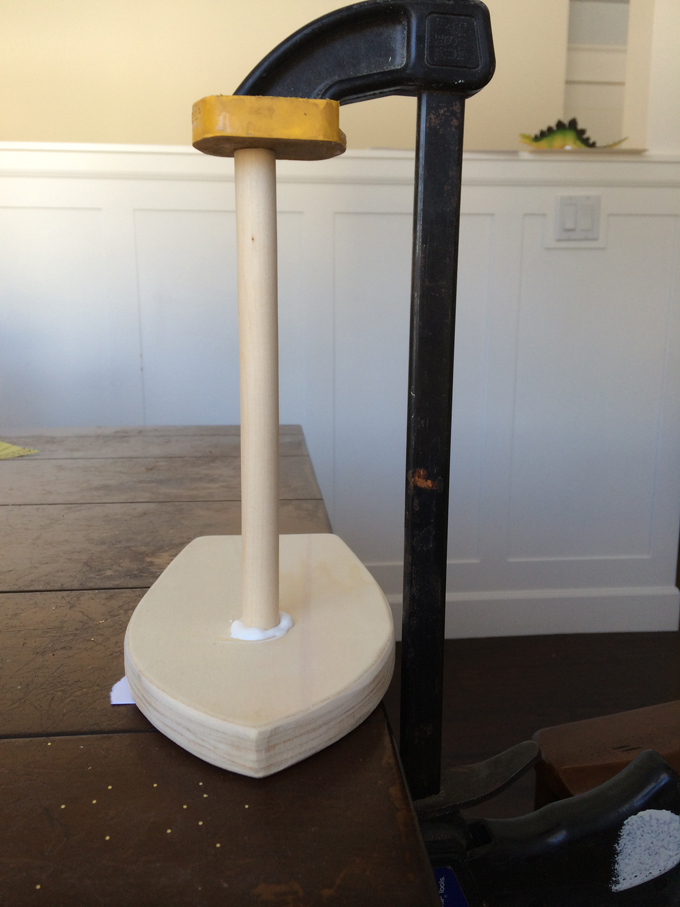
Once you get everything clamped and aligned, you'll want to wipe away all the excess glue that came out.
Once it's dry it's ready for paint and a sail.
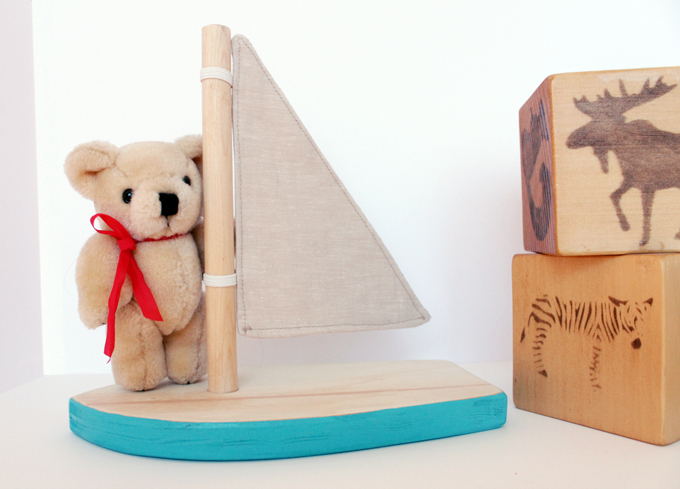
The sail is just a few layers of fabric sewn into a triangle with elastic sewn into that..
Once my boat was finished I put a coat of polyurethane on it to protect the unfinished wood and give it a nice final look.
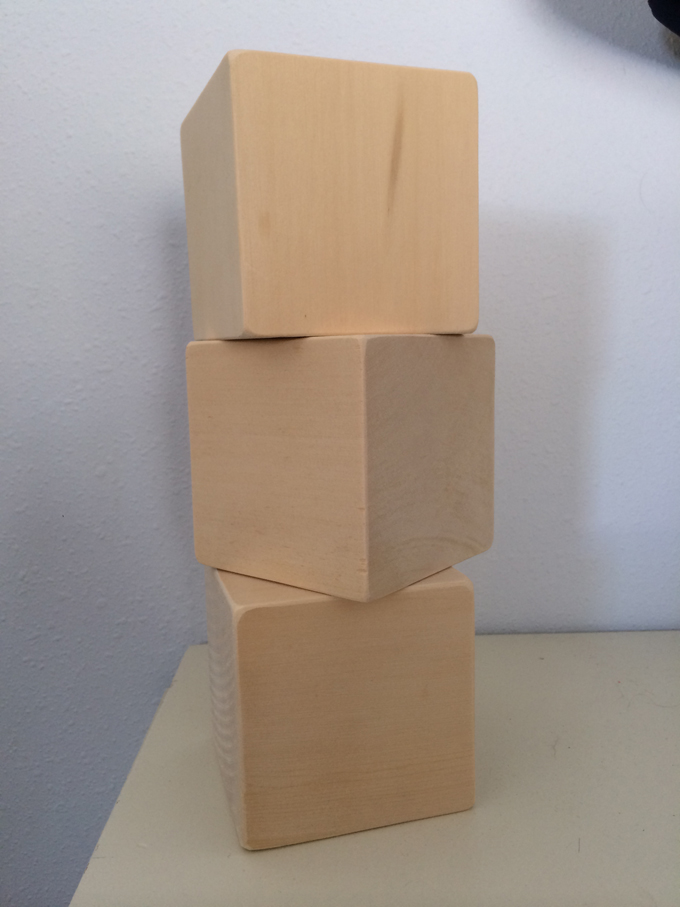
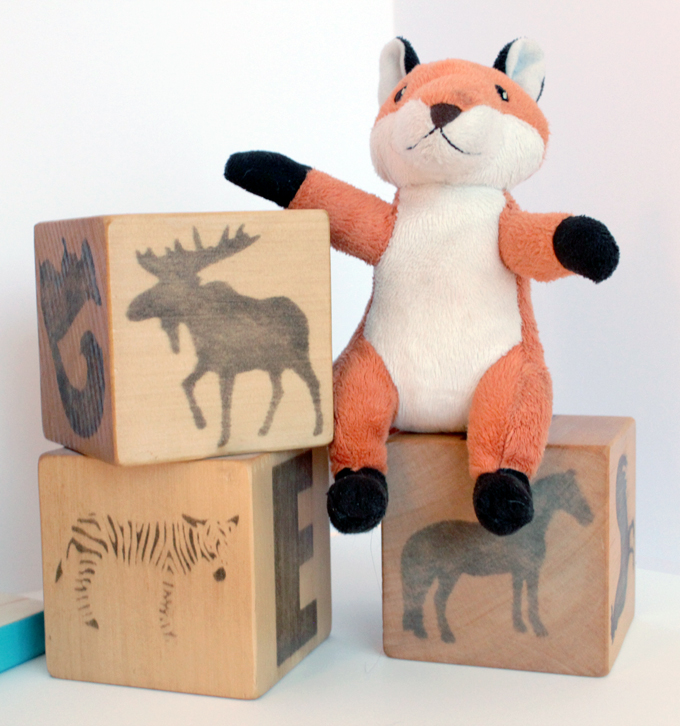
For the second toy I made a few custom blocks.
There are a few supplies you'll need for this project.
- Wood blocks
- Wood conditioner
- Stencils of choice
- Paper towels
- Wood stain
- Foam brush
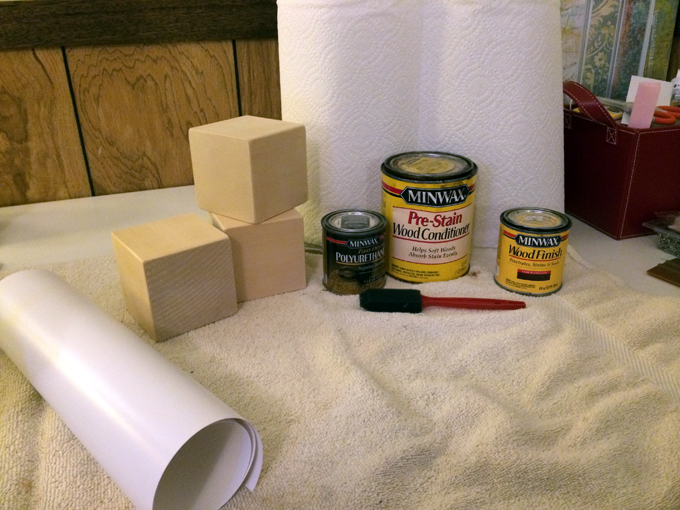
The most expensive part of this project was the block of wood itself, which was a solid 3.5x3.5x12 piece of wood. It's normally $16.99 at Hobby Lobby, but luckily I had a %40 off coupon, which made it bearable. I had all of the other materials so that was the only cost.
First measure and cut your blocks.
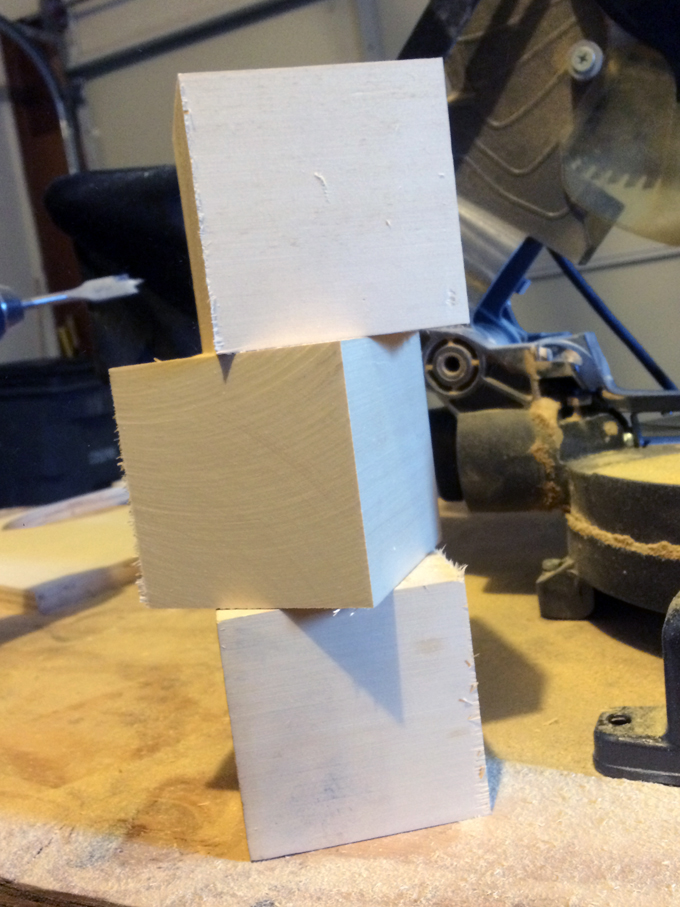
Next, sand them to take away any sharp corners or edges.
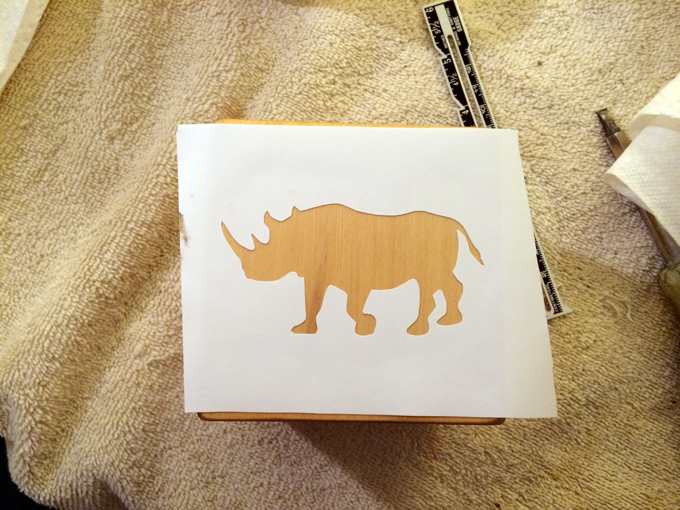
Then, you condition the blocks. The conditioning will change the color of the blocks slightly.

Add your stencil. My stencils are vinyl cut from my Sillhouette Cameo.
To apply stain to your stencil you start by dipping your paper towel in the stain. You'll want to push out any excess onto another paper towel. You want the paper towel you are using to apply the stain to be nearly dry. If you have too much stain it will bleed.
Dab, don't wipe, your stencil until it is completely covered.
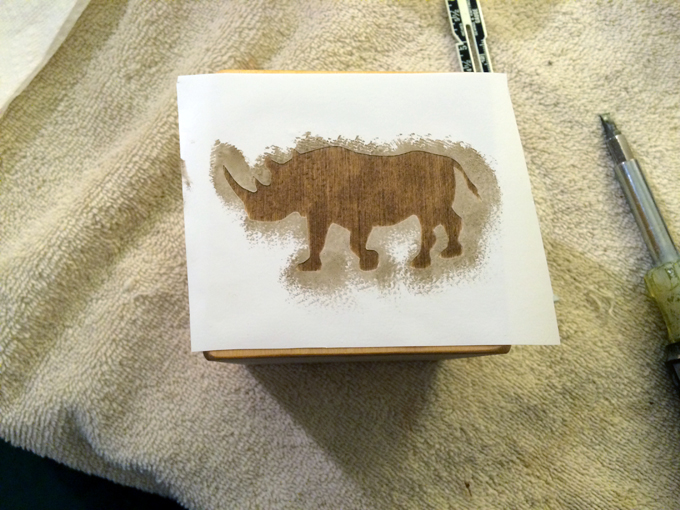
Remove your stencil. You can see I had just a touch too much stain on my paper towel and it bled a tiny bit, so be really careful with the amount of stain you are putting on it.
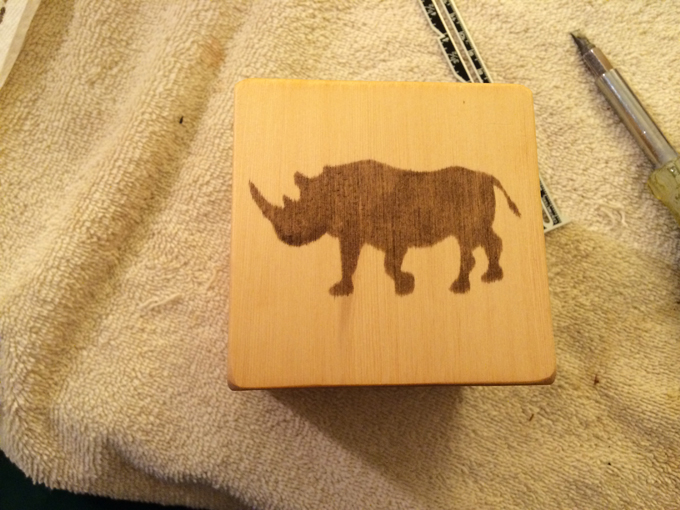
Once you have all your blocks stained, let them dry.
When the stain is dry add your top coat ( I used the same polyurethane as I did on the boat).
Let the top coat dry and you are done!
Both of these toys were finished in a day, even with preschool and other activities causing breaks.
Total spent on both of these projects was less than $12.
So go make some toys!
Tags
- Facebook Like
- Google Plus One

- Log in to post comments