The weather has been so nice here lately that I haven't gotten nearly as much done on the nursery as I wanted (too much time spent playing outside), but here's an update of where we are so far.
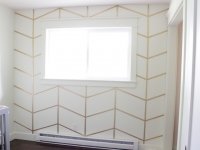
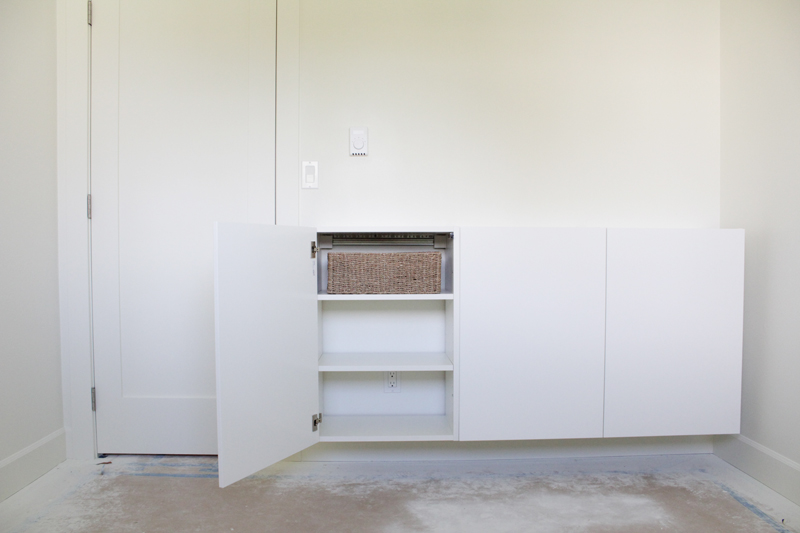
Last we left you we had painted the nursery and gave a little sneak at what we were working on next. That sneak was a fauxdenza for the nursery.
I've seen a lot of fauxdenzas around and I don't think there is a single one that I haven't liked. The very first one that caught my eye was this fauxdenza from The Brick House, which led me to their other one, which led me to the original one. From there I basically researched every single one on the internets. I was 1000% sold that I was going to do one in my nursery, and even though we are only partially finished with it, I can tell it's going to be one of my favorite things in this whole room.
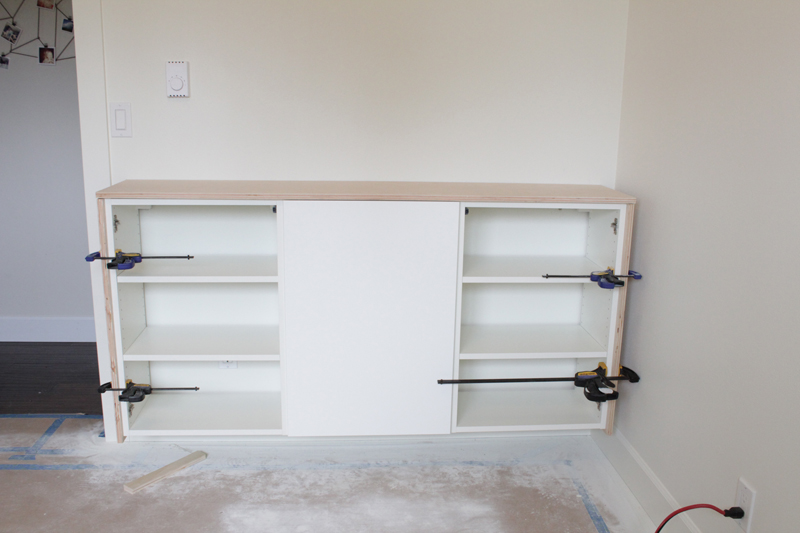
We mounted the cabinets (per Ikea directions) and realized they were too low. Take two got us close enough to where we needed to be. We opted to go backless on our cabinets so we could have easier access to the outlet hidden behind the cabinets. How exactly are we going to access it? I'm still mulling that over.
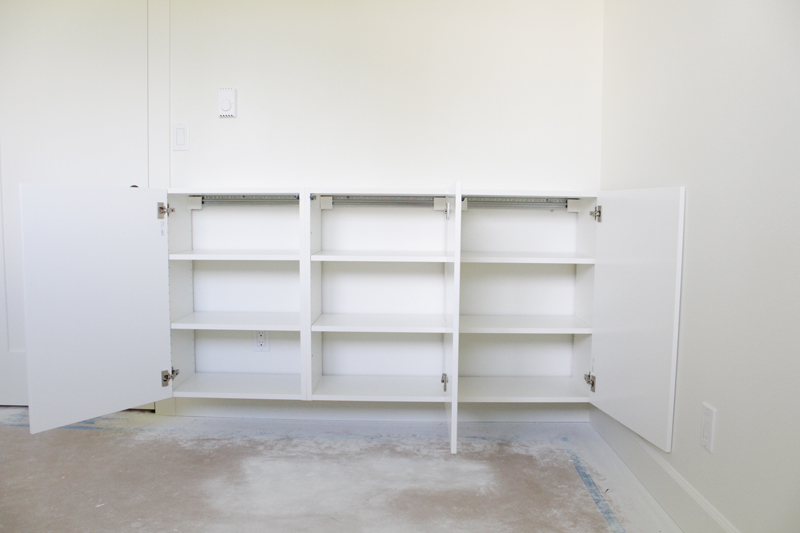
I've been on the great basket search to find the perfect basket to fill the spaces. I've had a few come really close but nothing perfect yet. We are only buying enough to fill the two left cabinets and leaving the right cabinet shelf-less. That way we can put up a bar for hanging dresses and things, since we have other plans for the closet.
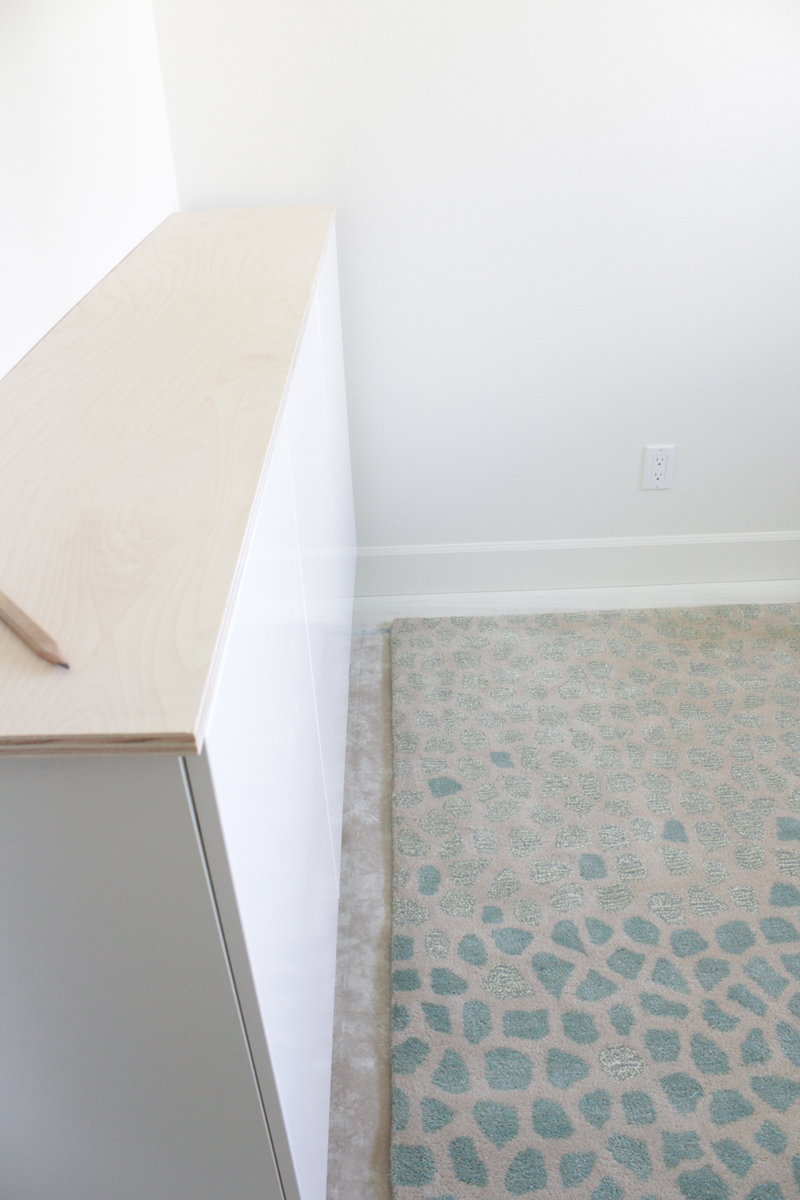
We chose a 4x8 birch furniture grade plywood to cut the top and sides from.
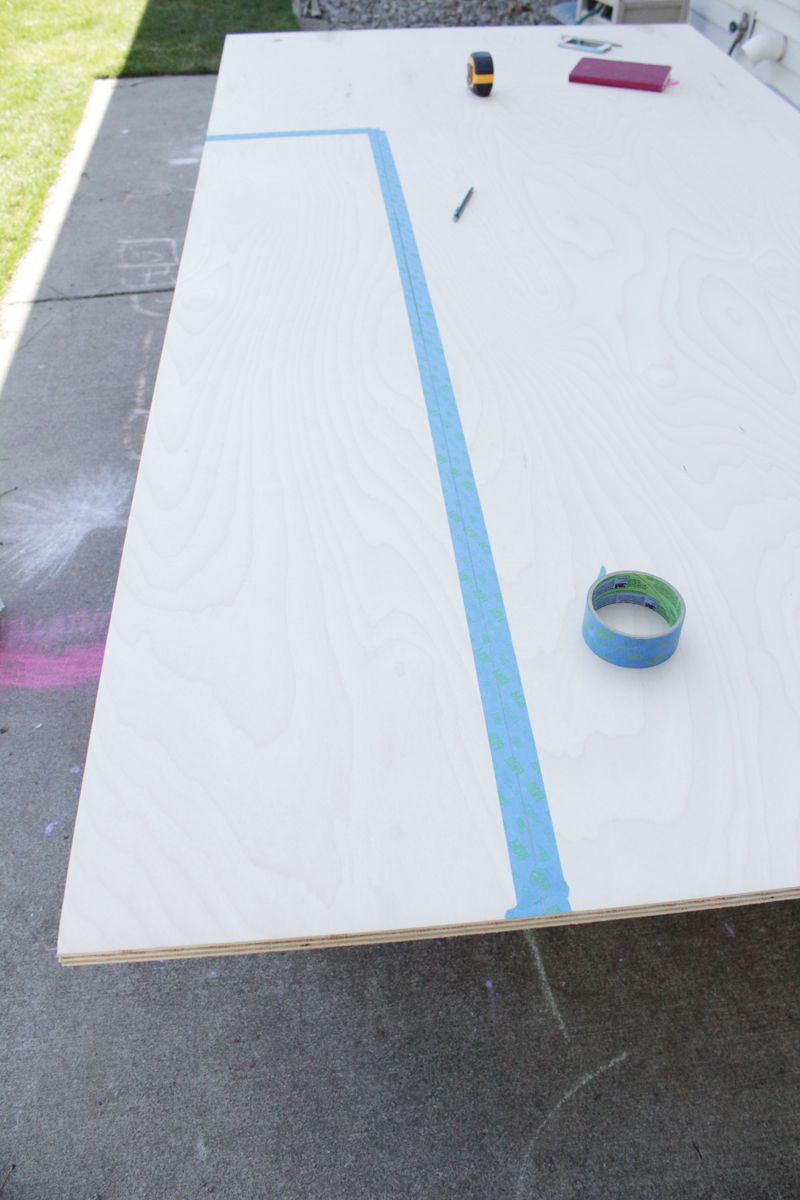
We cut them all to size and fitted them several times to to make sure they were just right.
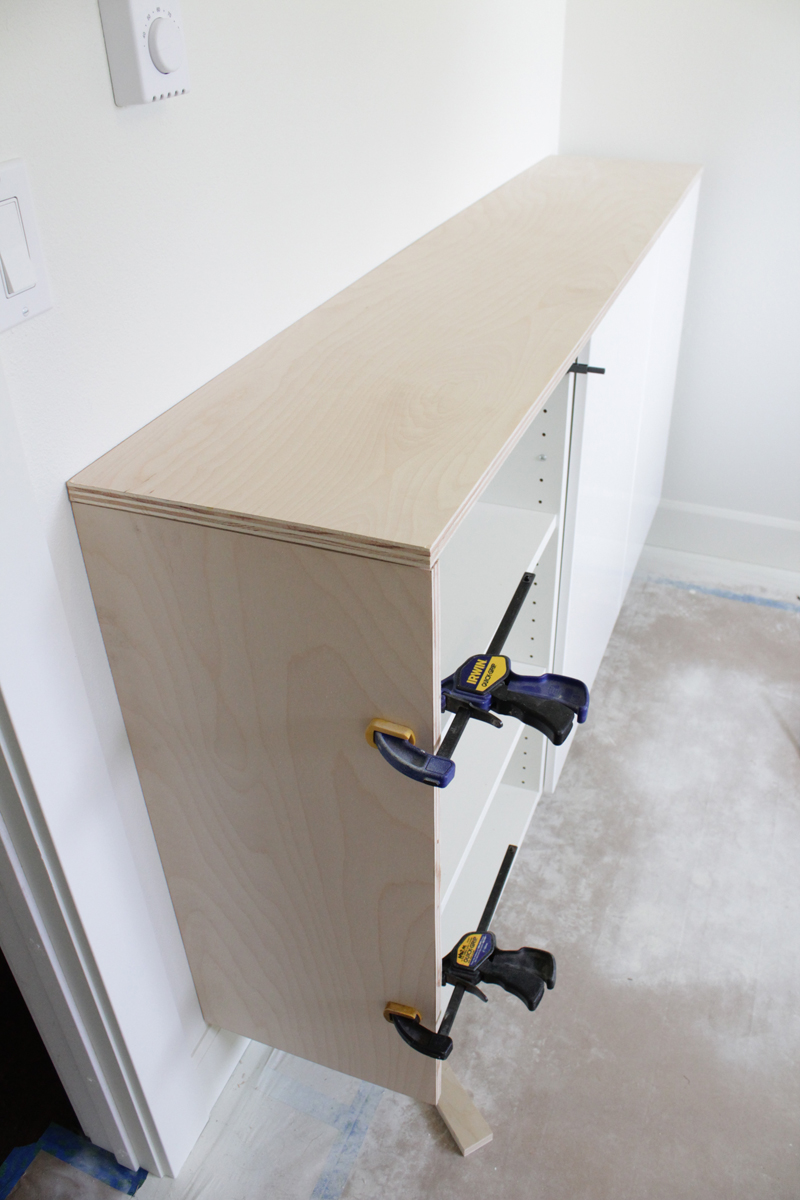
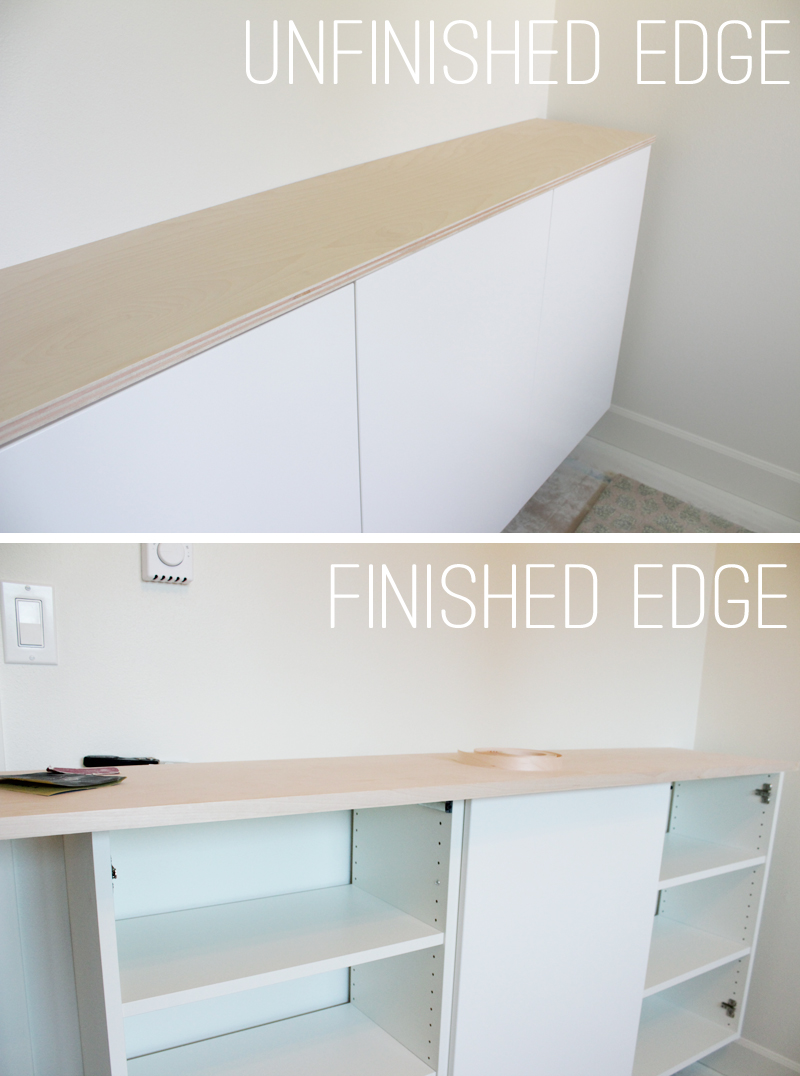
Once they were perfectly fitted I attached some birch edge banding to cover any exposed unfinished edges.
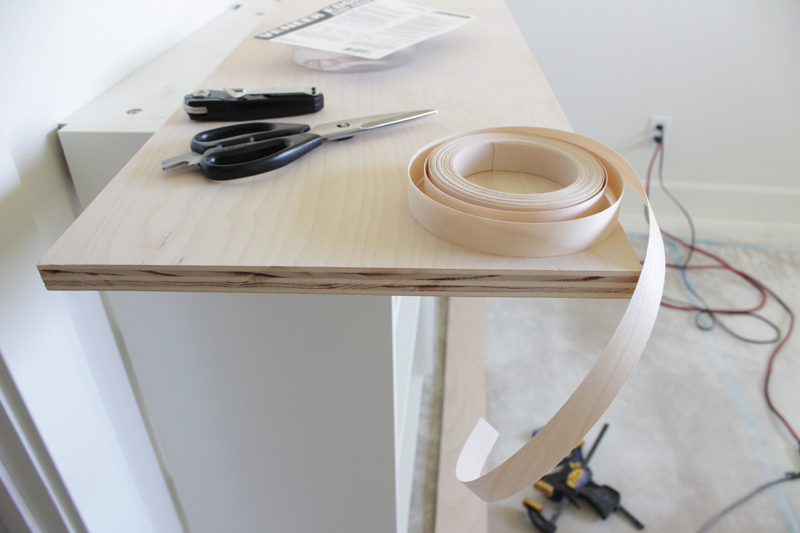
It's actually a really easy process. Just iron, remove excess with a sharp knife, and sand smooth. I followed this fantastic tutorial for How to Edgeband Plywood. It has lots of extra tips and tricks to ensure a nice finished product. In the video he uses a roller after ironing to make sure the banding is attached evenly, but I used a block of wood seeing as I didn't have a roller handy.
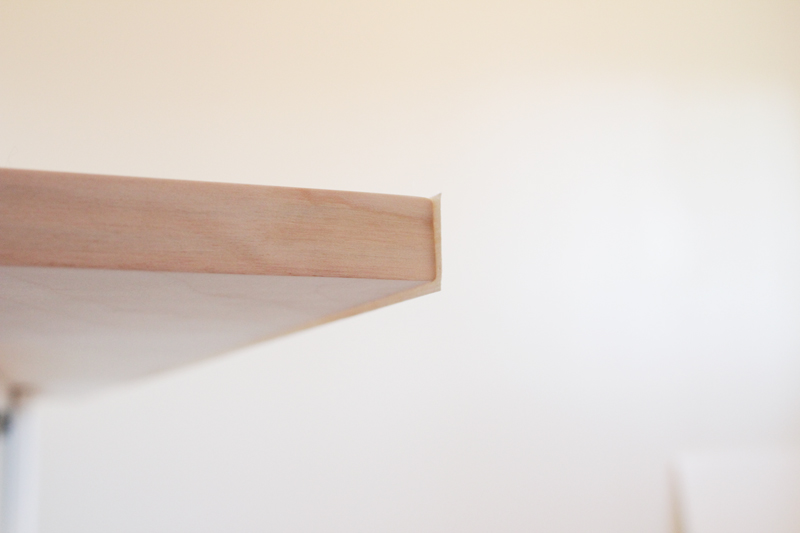
To me the edging makes a huge difference in achieving the look of a more expensive solid piece of wood as opposed to just plywood.
I've started the finish coats on the wood but haven't completed it yet. I'm trying to get it perfect and perfect always seems to take so long!
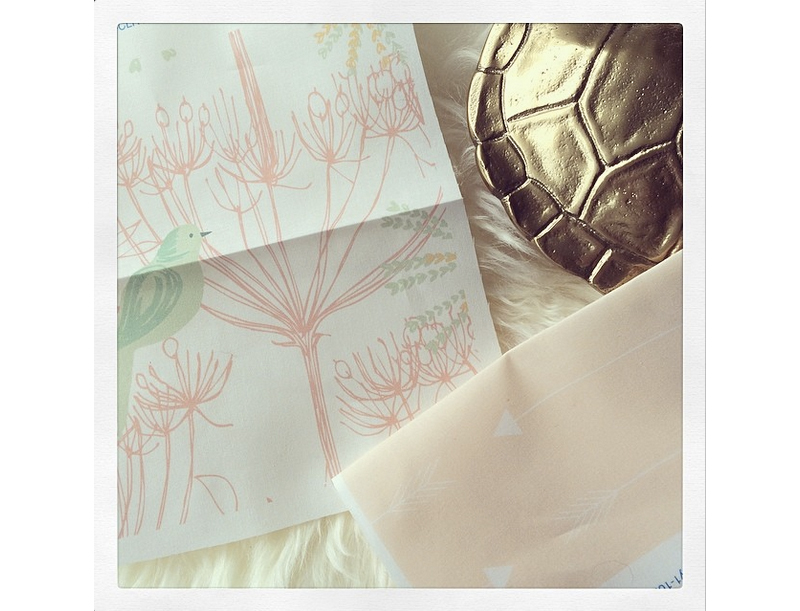
In the mean time we'll be picking up paint for the ceiling and the closet since our fabric samples came in, woohoo! The paint will be matched to the blush pink fabric with arrows. Both fabrics, named blush horizon arrow and sketchy plants and birds - pink, are found on spoonflower.
And here's a little sneak at the rug we purchased for the nursery.
To see more about our nursery check out:
It's A GIRL!...Maybe? (original design mock-up)
Tags
- Facebook Like
- Google Plus One

- Log in to post comments