I've been helping a friend redecorate her daughter's bedroom. Everything needed to stay on a very budget friendly basis. So, in comes the free art. Well, minus the cost of the Nyttja frames, which were only $12 for six frames. Thanks Ikea!
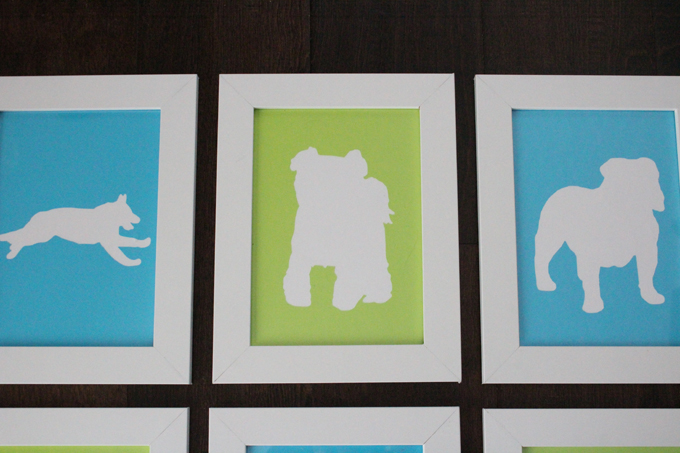
Since the daughter loves dogs so much, and the room was taking a slightly modern colorful approach, I thought some silhouetting of dogs was in order.
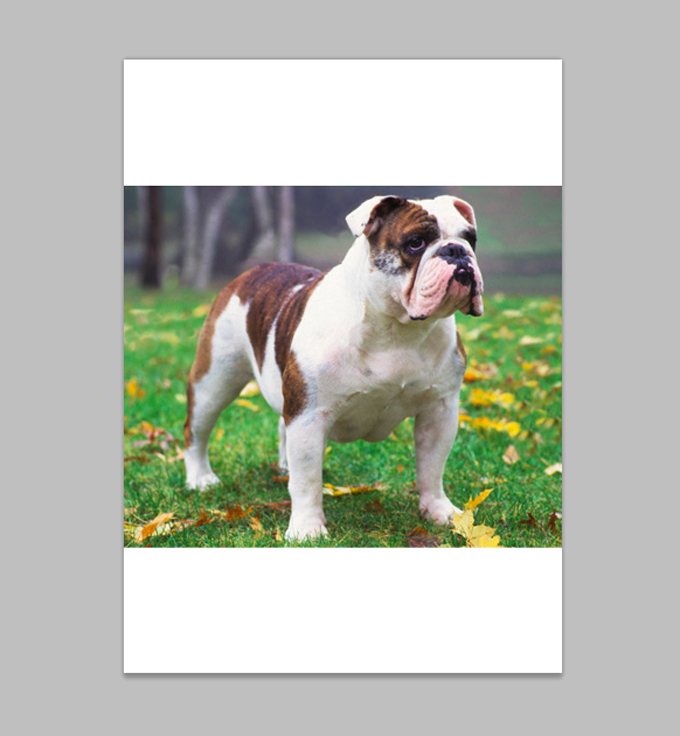
The first step is to find some pictures of dogs you like. I tried to choose breeds that were either recognizable or made good silhouettes. One breed however was chosen because the family used to own it.
You aren't going to want just any pictures however. You need to make sure it'll look good as a silhouette. For example, if you get a picture of a dog sitting and you can't see the front legs...it's going to kinda look just like a blob. If you are going for dog, not blob, then be aware of which pictures are going to look right..
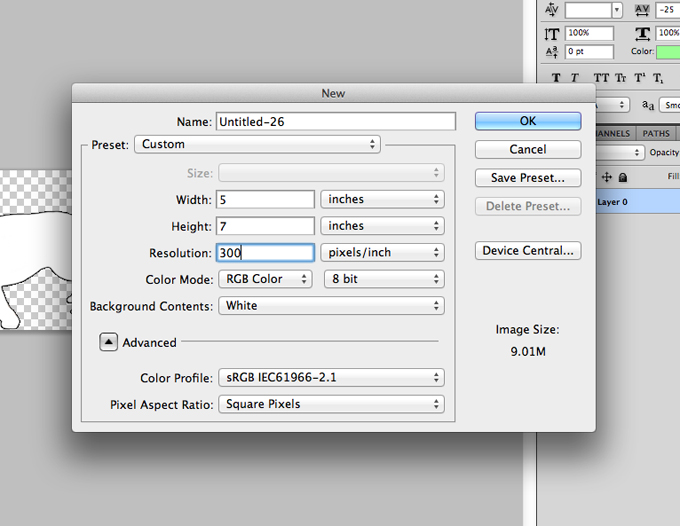
Once you have your picture selected you will create a new file in Photoshop, the size of whatever your project is. Mine were going into 5x7 frames so I sized accordingly. If you are going to print your silhouette on paper then set your resolution at 300 to get a really crisp outline. If you are going to use it as a cutout then 72 will work fine.
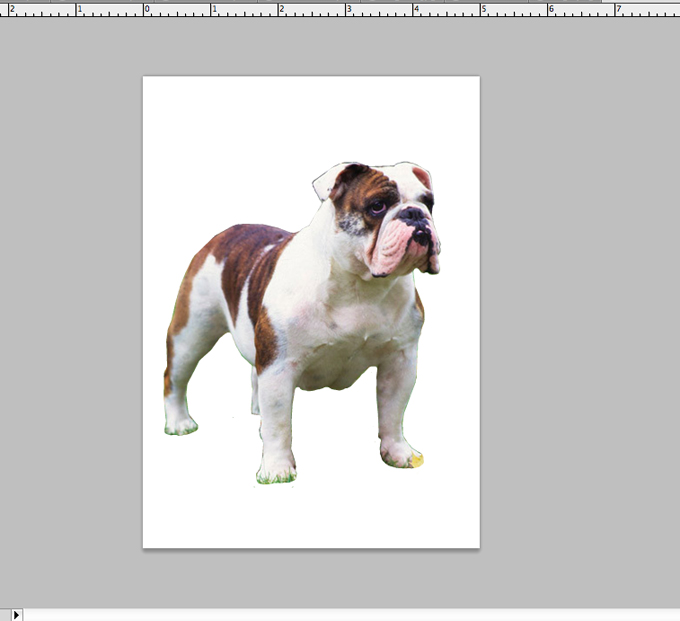
Now that you have your new file, copy your picture onto it.
I went with this bad boy because he's just too cute, and the bulldog also happens to be my senior high school mascot. Go Bulldogs!
Size your picture however you want it to fit within the frame (shortcut command+t, then hold shift while you resize).
Now you're all set for the hard part (not that hard...more tedious).
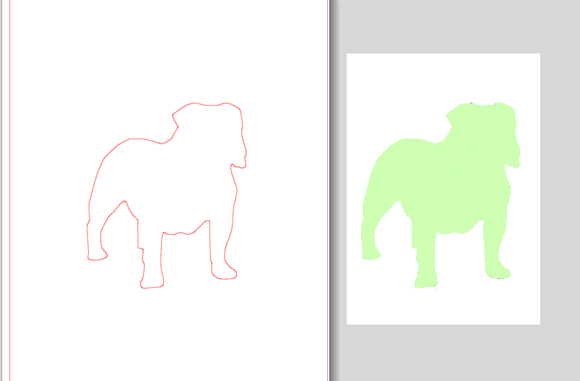
Now, I'm no Photoshop whiz or anything, so there could be a much easier way for this, but this is how I did it. I erased all of the background with the eraser tool, making sure to stay really close to the outline of the dog.
Then, I did the same process to color the dog, but instead of the eraser tool use the paintbrush tool.
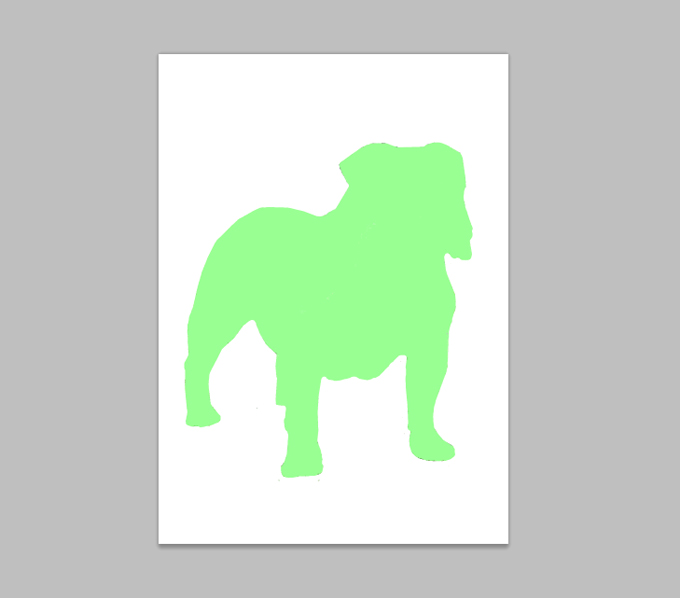
Now you have an outline that you can take to your Cameo. If you don't have a Cameo you can print it out and cut by hand if you choose. You can also take the image and put it on a colored background, color the dog white with the paintbrush tool, and print it just like that.
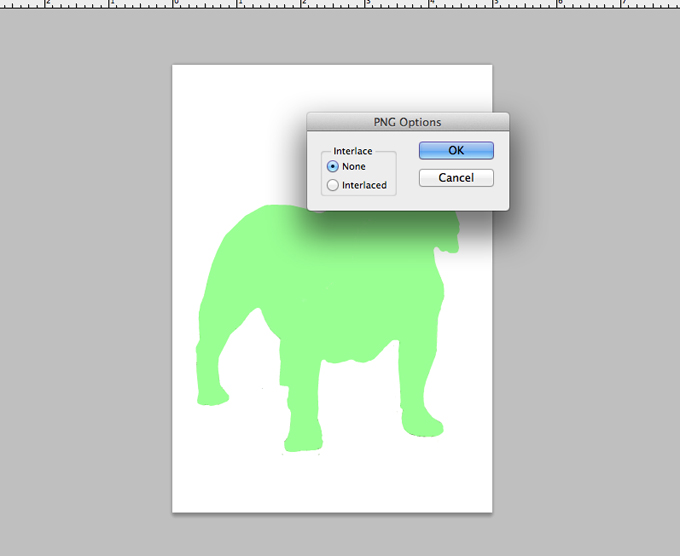
If you are gong to have it cut, you'll need to save the file as a png so that it won't have any background.
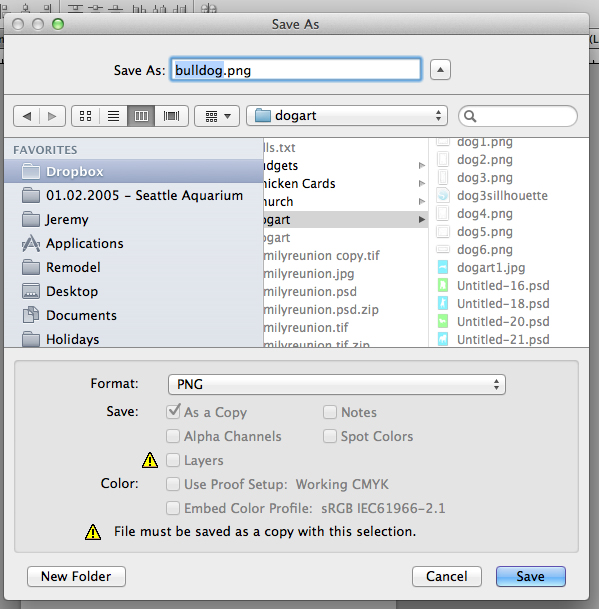
Just say ok when the png options box appears. if you cancel, your image will not save. Honestly, I don't even know what any of that means, so continuing on!
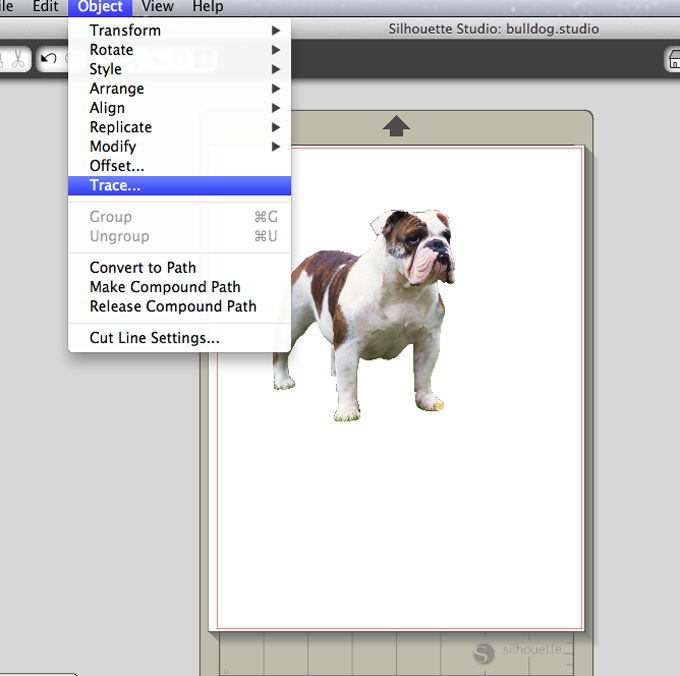
With your file saved, you can now open it up in Silhouette Studio by choosing File, Open, then selecting your image from wherever you saved it.
The first step is to trace your image. Select Object then Trace. The dog in this picture is actually the wrong dog. The image must be colored in, otherwise the tracing won't work...I know, I tried. The proof is in the picture, or pudding, or whatever. Anyway, the point is, your image must be a solid color.
That will then bring up the trace menu on the right. Choose, Select Trace Area.

Now you select your image.
 ]
]
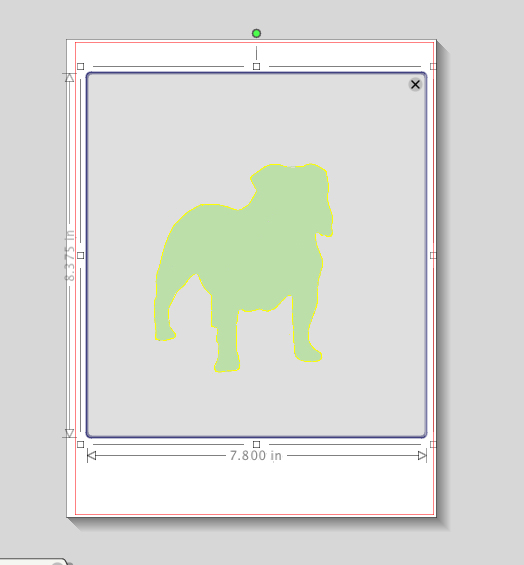
You'll see a yellow line around your image. You may have to mess with the high and low pass filters and threshold, which are in the trace menu, to get the image to trace just right.
Once you think you have it set right, you trace it. I chose,Trace Outer Edge in the trace menu. If the trace doesn't come out as a solid line you will have to play with your high and low pass filters and threshold a little more.
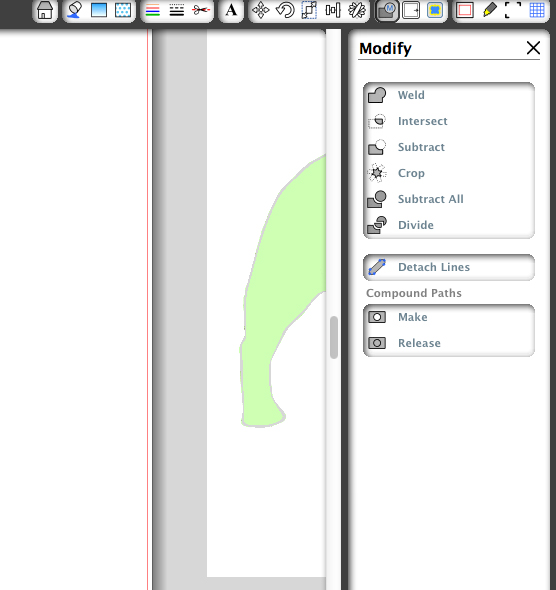
If your trace comes out as two lines you can choose the Modify button and select Release. This will enable you to choose whichever outline you want and move the other out of the way.
When you have your image traced, move the original to the side and make sure the trace is what you want it to be.
If you like it, then send if off to cut. (Whoa, that bulldog did a quick change!)
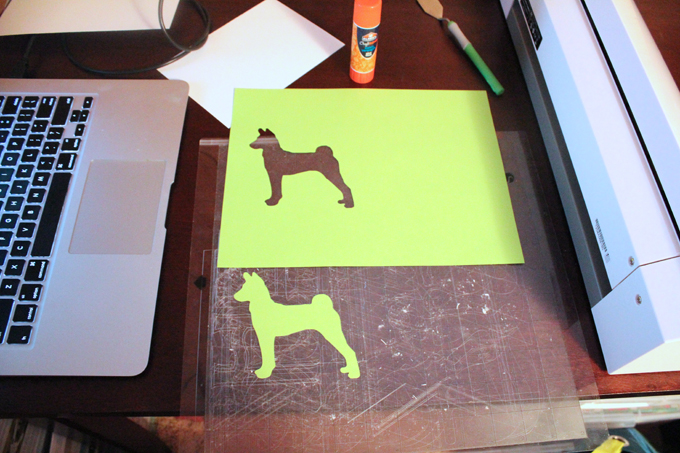
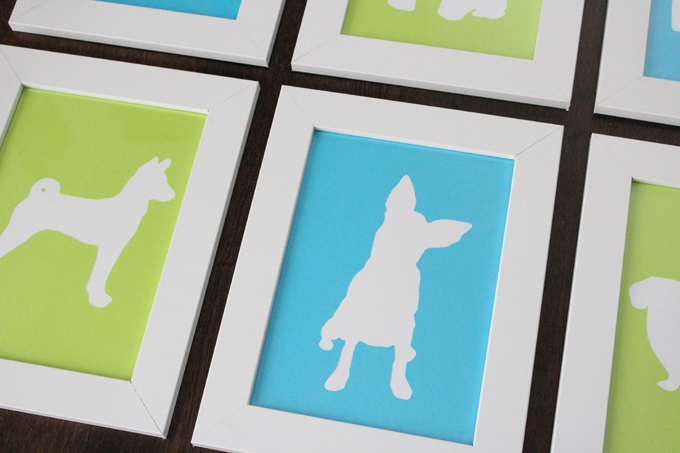
I used colored paper to match the room these were going in. Once you have the image cut out, you can use either piece. It's just preference whether you use the paper with the cutout, or the cutout itself. I went with the paper with the cutout to get a little more color area.
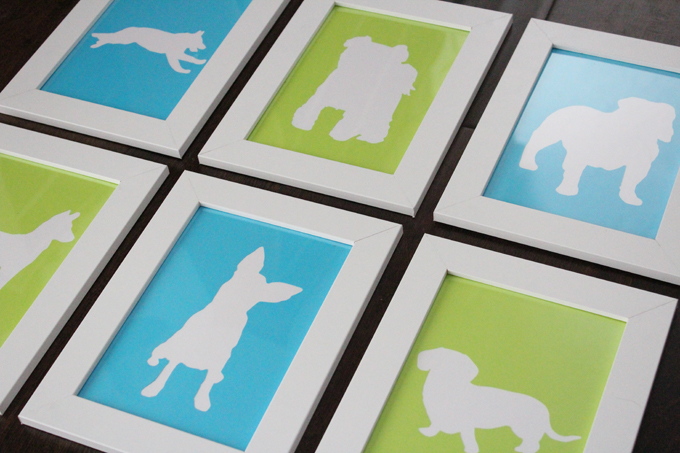
And this is where we ended up. Six fun colorful doggie art pictures, and since I already had the paper it was very cost effective.
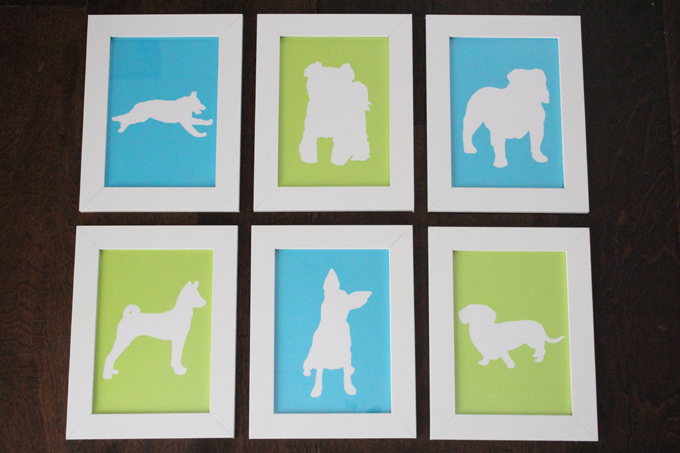
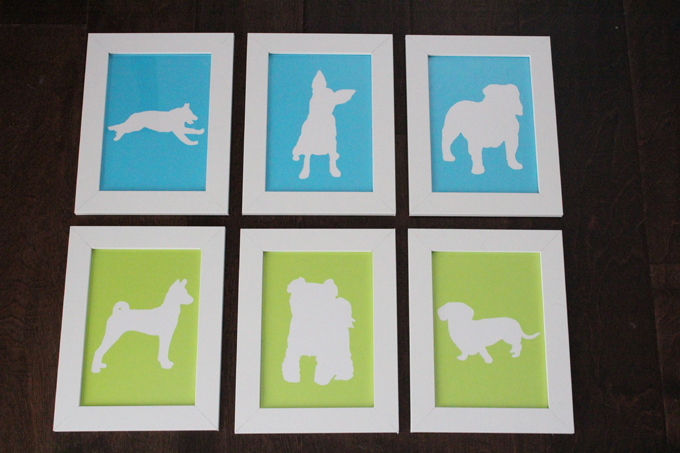
I kind of thought this would be really fun to do a bunch of these in a rainbow effect. Let me know if you give it a shot! I'd love to see it.
Linked With:
Tags
- Facebook Like
- Google Plus One

- Log in to post comments