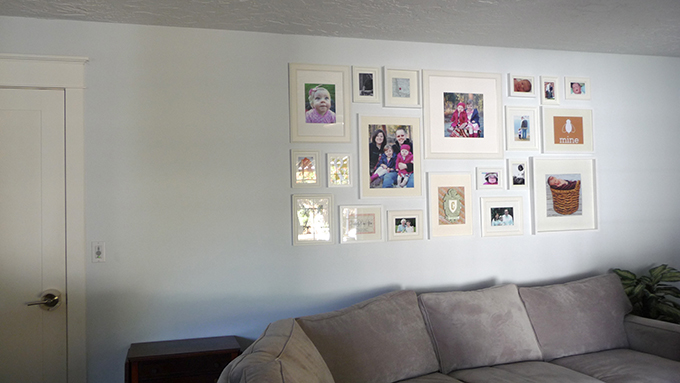
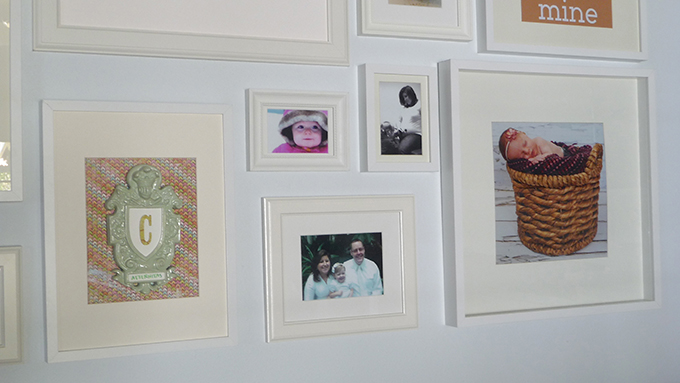
I have never had a family picture wall and thought it was high time to do one. We have two adorable kids and I figured they needed a spot to shine. There are about a million different ways to display your photos and about a trillion different frame styles to choose from. I happen to like things clean (and cheap!) so Ikea was my new best friend when it came to getting frames. Every single frame on the wall is from Ikea. As much as I like clean, I don't like everything to be matchy matchy, so I bought three different styles of frames all in white. My frames of choice are Ribba, Sondrum, and Viserum all in various sizes. I didn't have a layout when I bought frames, and since we live 6 hours from the closest Ikea (WAAAH!), I bought more than I thought I would need. I figured I could always use them somewhere else, or give them as a gift, or repurpose them. It turns out that when I had everything laid out the way I wanted, I only had two little frames extra! What luck! Not counting the "interruptions" from kids, it took me about a half an hour to to get a layout that I really liked.
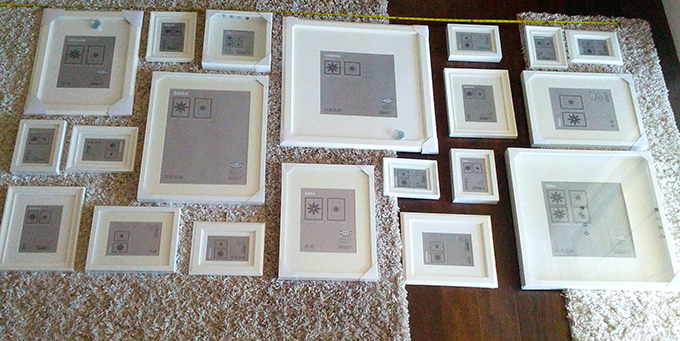
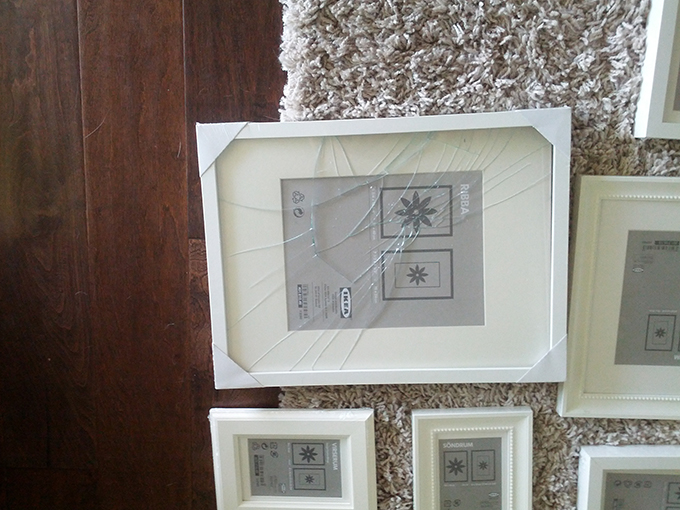
If you have little ones running around at this point you may want to just take a quick pic and put the frames away. I unfortunately did not get mine picked up in time and a wobbly baby may have sat on one. Luckily I needed a frame without glass, so it worked out in my favor.
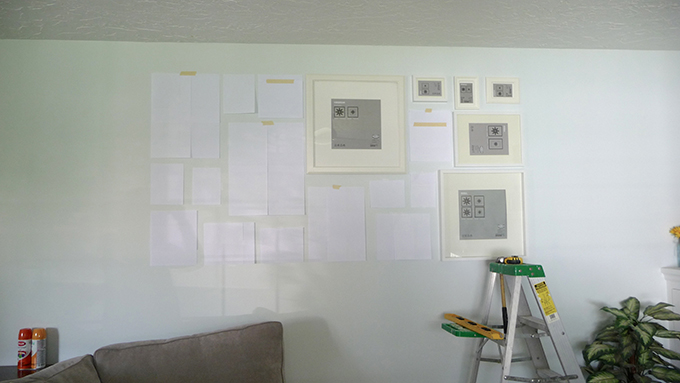
After I had my layout set I made a template of each of my frames and put them up on the wall. When you set them up make sure they are level and placed as close to the real location as possible. From there I measured the backs of the frames from the top and the side to find the right placement for the nail. Then mark those measurements on the template and put in your nail. I did my frames one at a time to make sure everything would line up before I placed the next nail.
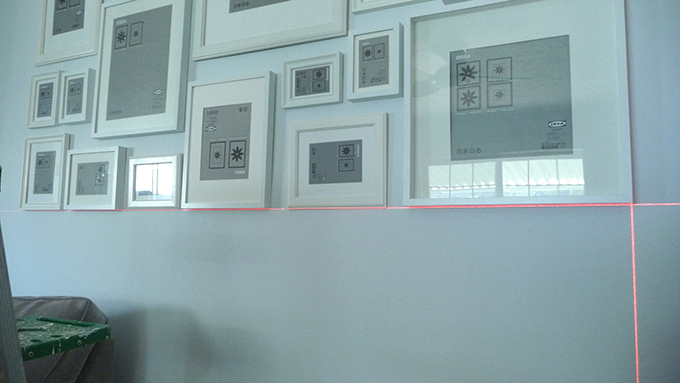
I busted out the level to make double sure that everything was just right. I'm glad to say that I only had to redo one nail, yay!
Once I had them up and all level it was time to label them with what I wanted where. This helped me to position everything so that two similar things weren't right next to each other. Don't mind the pictures already in there...I was too anxious and just threw something up before the rest of my photos were ready.
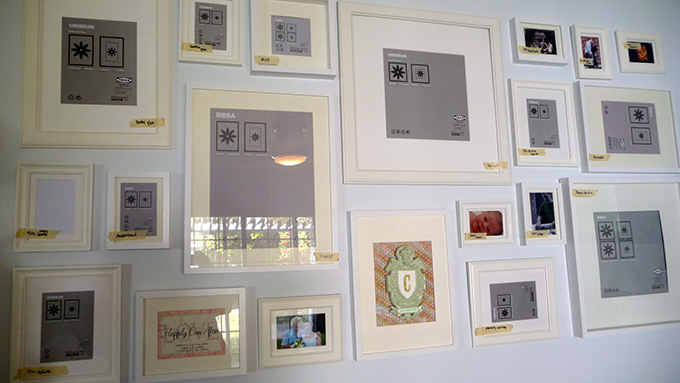
Here's where it gets super fun! Put in your pictures! Warning: If you are not careful about putting your pictures in, you just might break another pane of glass. Yeah, like me...boo :(.
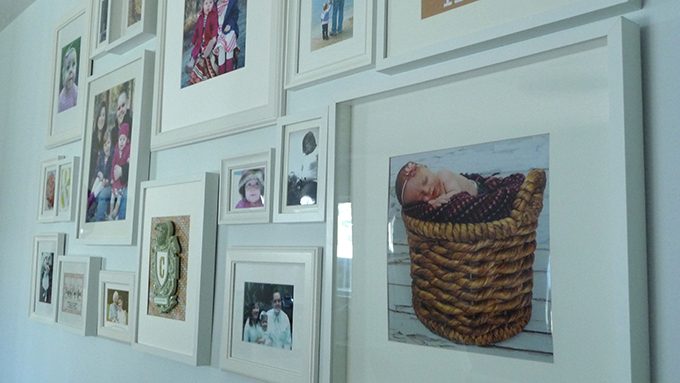
I knew that I didn't want just all photos so I added some other fun stuff. I added in the bee mine and ampersand printables that I got from Sprik Space. She has a ton of great ones if you are looking for some great free art.
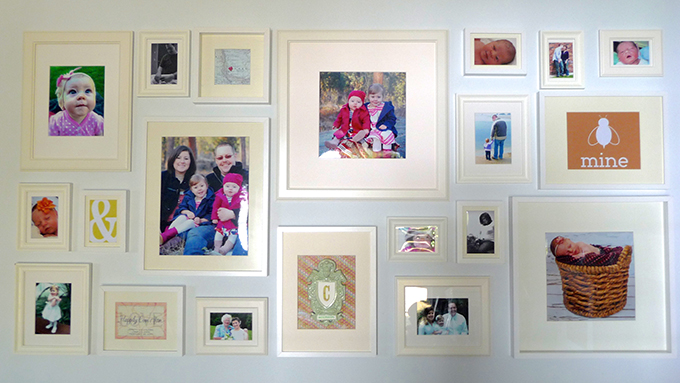
I also made some of my own nearly free art. I totally forgot to take a before picture, but just imagine a red velvet background and a foil looking sheild inside a bronze crest. I spray painted the crest and added a new shield by cutting out some textured paper and putting a chipboard C on it. Then I wrote in some latin to tie it all together. Last, I backed it with some scrapbook paper. Everything I used to make it I had on hand, except the crest, which was a $.25 yard sale find. I really like how it turned out. Even if my husband isn't so sure about it, haha.

I did a cross stitch awhile ago and felt like it would go nicely in this gallery. So it joined the group.
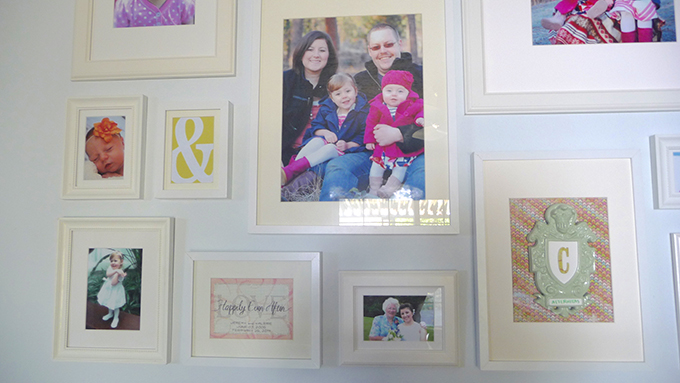
Our family photo and the cute newborn photos (the baby in the basket and the one with the orange flower) were taken by an old high school friend of mine who now does photography professionally and owns her own business, Layla Belle Photography. Thanks Kari! Doesn't she do a fabulous job?!
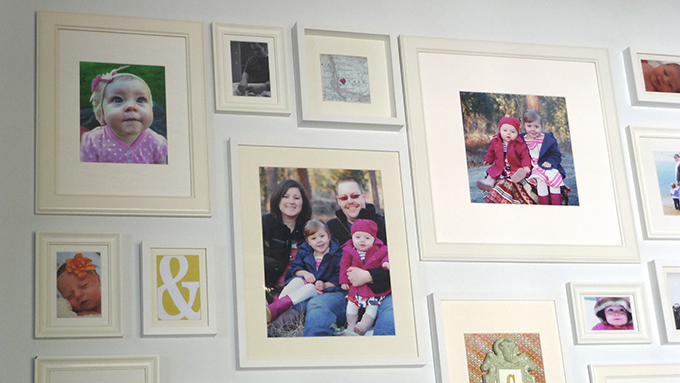
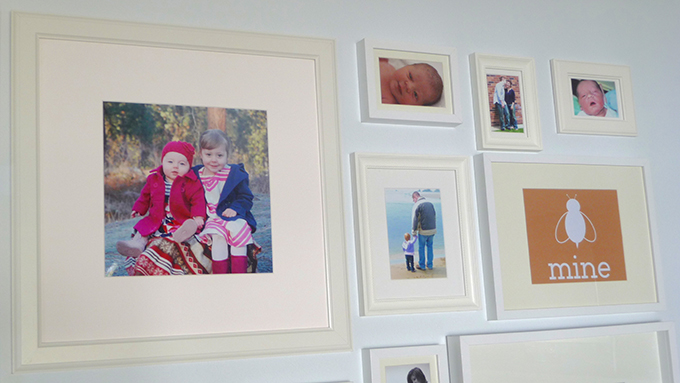
I'm pretty darn happy with how it all turned out. Now I just need to fill the space around it...more ideas in the works for that. Oh, and a side note. To get your pictures to stay level and not move around when say, a door gets closed or kids are stomping around, take a small piece of Fun Tak (that blue clay like adhesive stuff) and put it on the back of each frame at the bottom to hold it in place.
Linked with:
Tags
- Facebook Like
- Google Plus One

- Log in to post comments

Comments
I really love your wall display. What are the overall dimensions of the entire display? Would love to recreate it in my own home.
John also LOVE this arrangement, can you share the frame sizes?
Hey, I love how your gallery wall turned out and would love to do the same.
Do you happen to have a lift of the sizes of frames you used?
Thanks
Hi, I'd like to recreate your gallery wall. Do you know the overall dimensions and a breakdown of the frames used. Super helpful!